
Creating and Managing Macros in GOCare Connect
Quick Summary
This tutorial explains how to create, configure, and manage macros in GOCare Connect. It includes guidance on routing, tagging, and visibility settings, plus how to name and test your macros for reliability and clarity.
What Are Macros?
Macros are reusable workflow shortcuts. When triggered, they execute a sequence of actions—such as tagging a message, moving it to a new inbox, adding internal comments, or notifying teammates—all at once. They are especially valuable for scaling team operations, reducing human error, and speeding up repetitive tasks.
Step-by-Step: Creating a Macro
Navigate to Settings:
Click the gear icon in the top right of GOCare Connect.
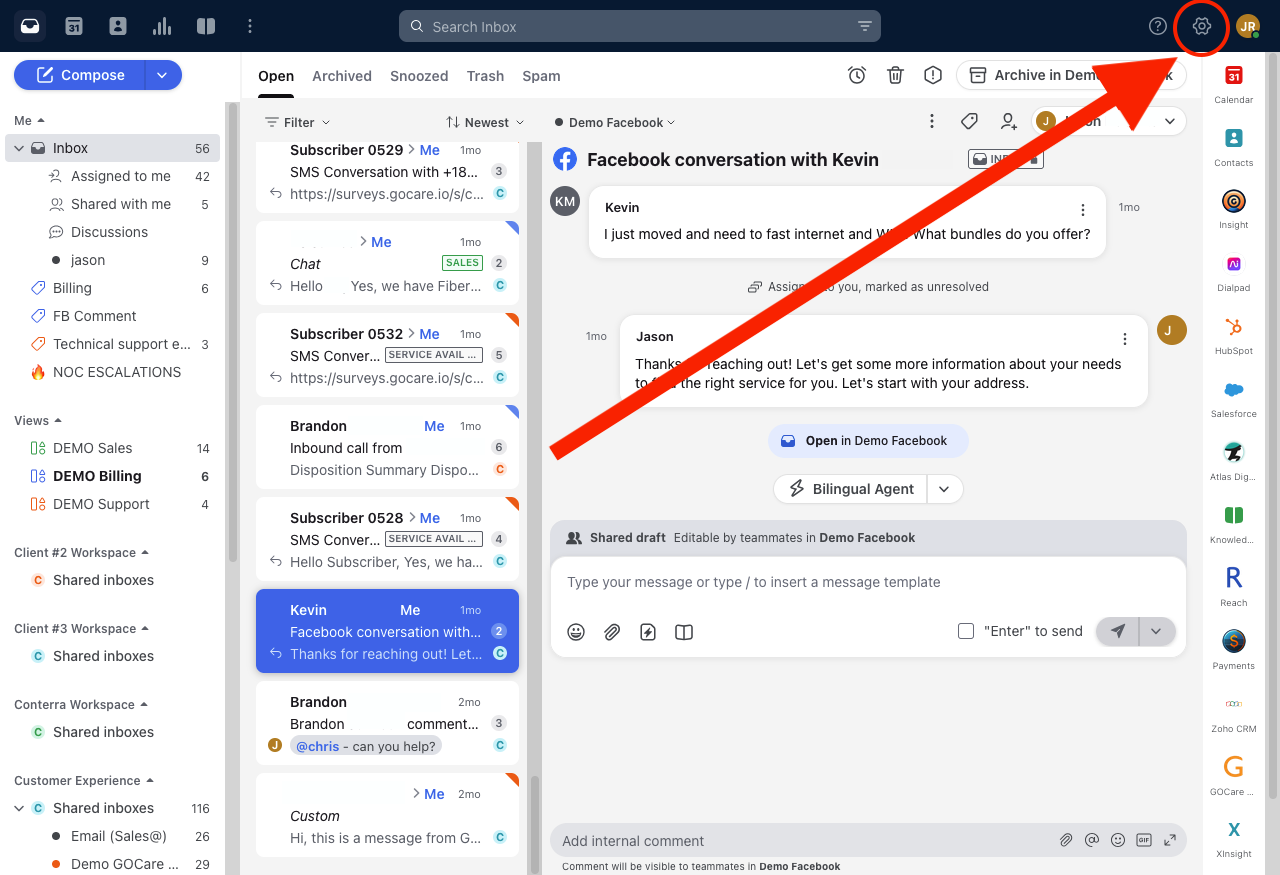
Select your workspace settings from the left sidebar.
Depending on your setup, you may have multiple options for workspace. Select the one you would like to create the macro for.
Go to Rules and Macros.
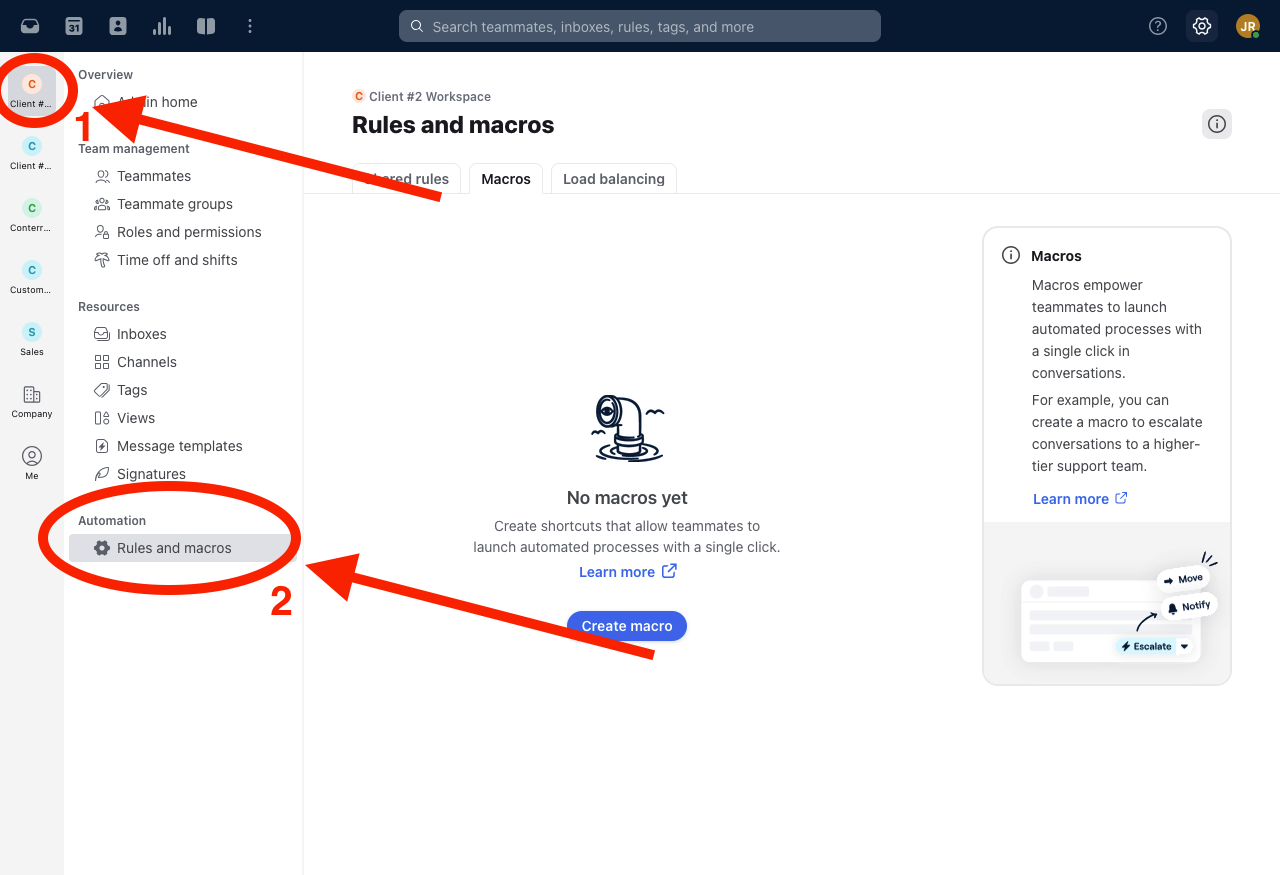
Start a New Macro:
Click the Macros tab.
Choose Create macro
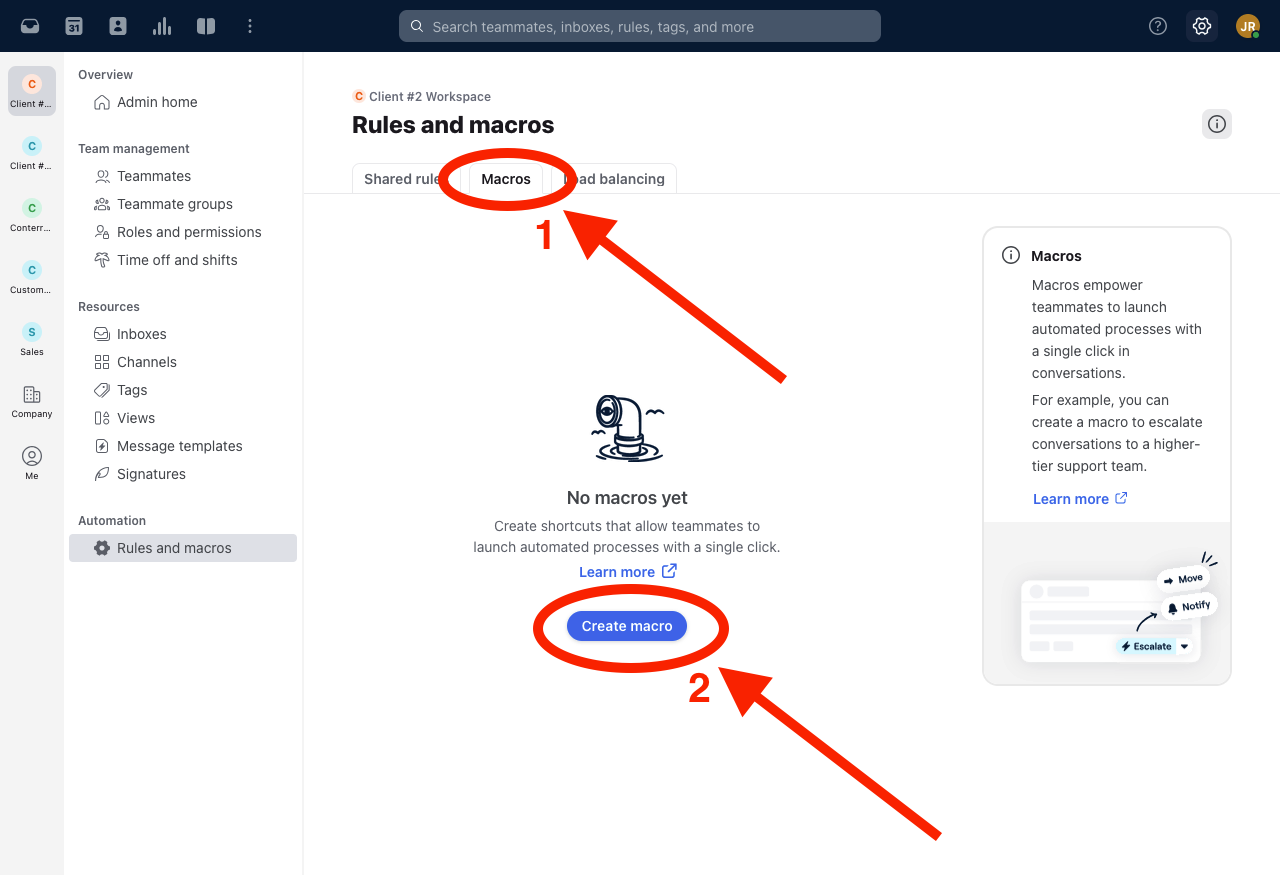
Scroll to the bottom of the pop-up menu. Select create from scratch.
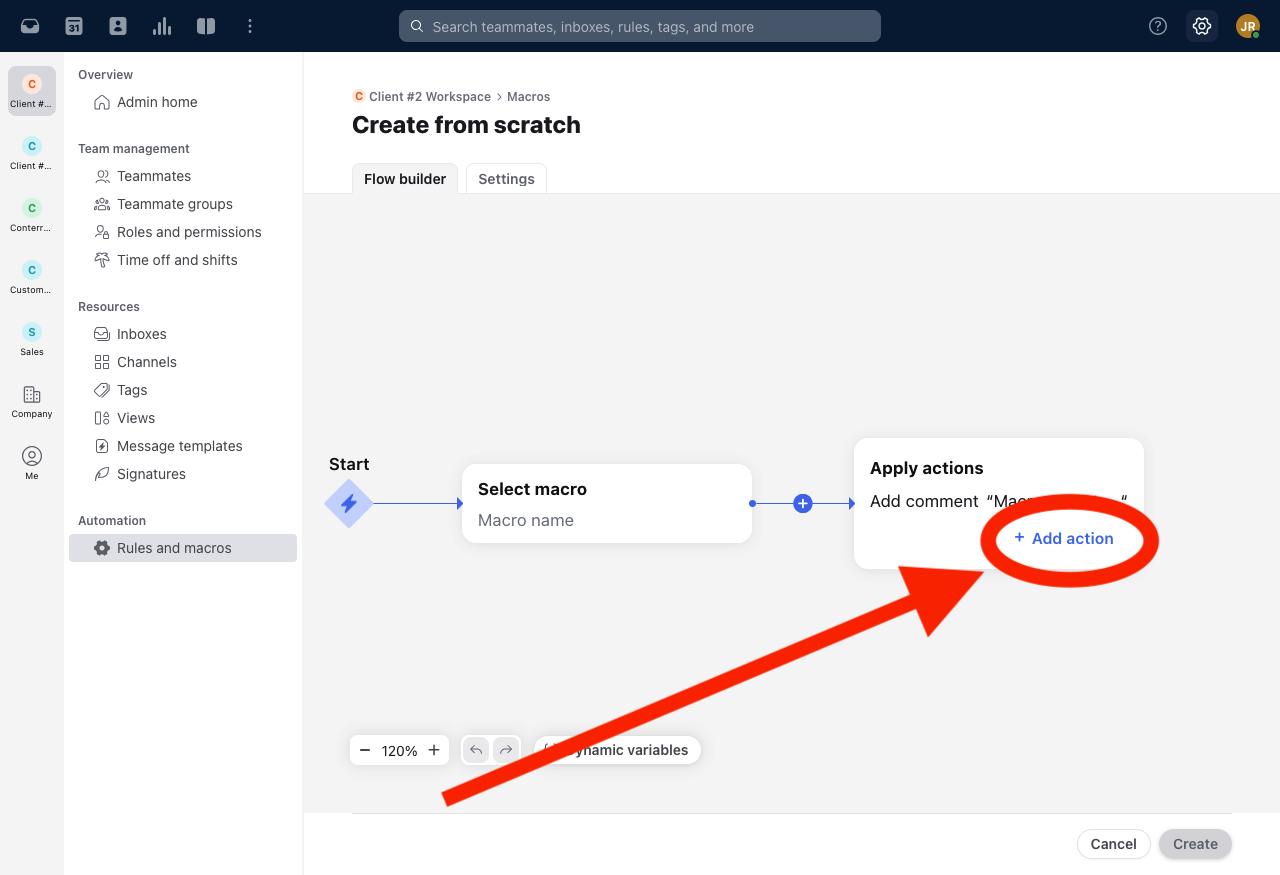
Add Actions (Flow Builder):
Click + Add action to build the steps your macro should execute.
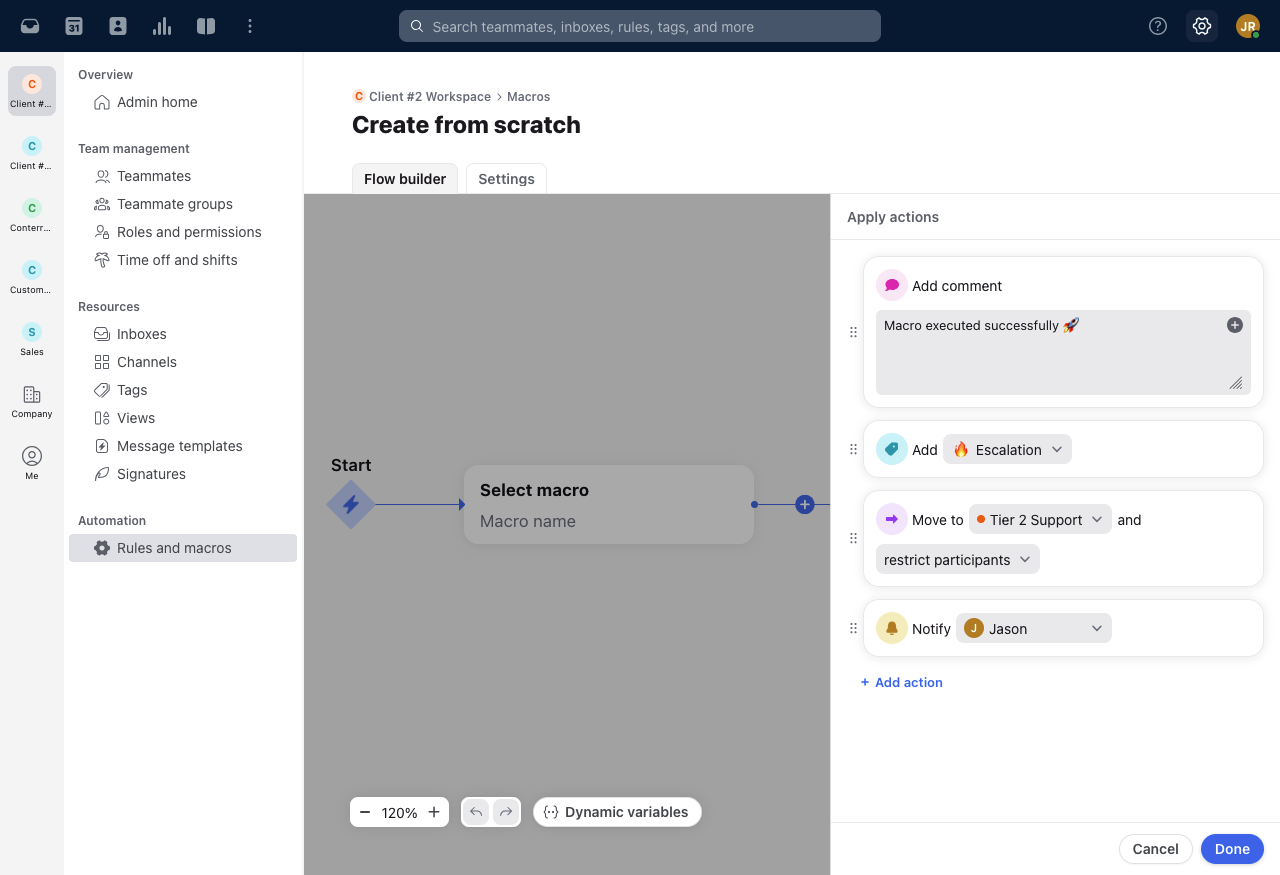
Example:
Add tag:
EscalationMove conversation to:
Tier 2 SupportNotify:
Sales teamandManager group
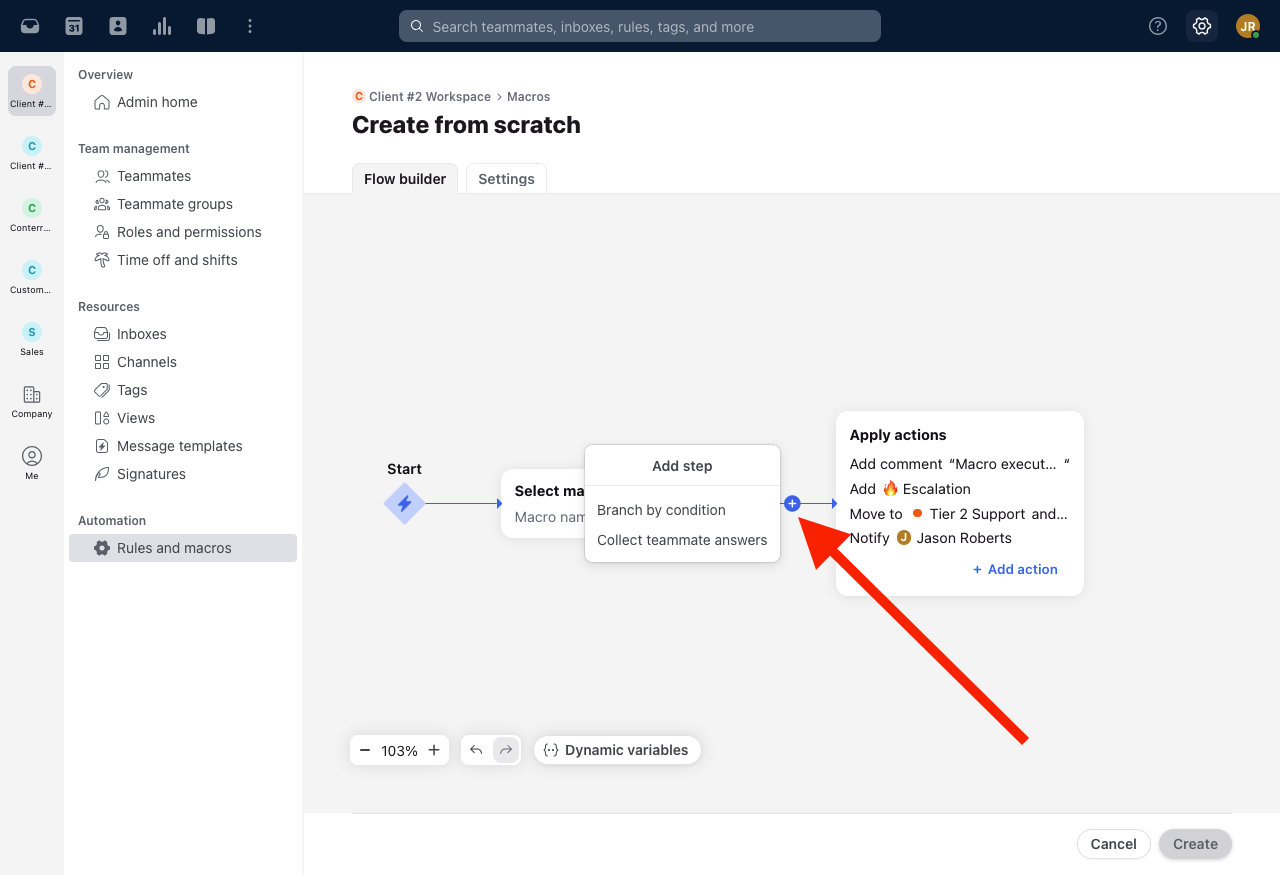
Set Conditional Branches (Optional):
Use conditional logic to vary the macro’s actions based on factors like tags, inbox, or assignee.
Example: Route only if the conversation has a “Technical Issue” tag.
Name and Describe the Macro:
Click "settings" next to the Flow Builder tab:
Name: Clear and action-oriented (e.g., “Escalate to Tier 2”)
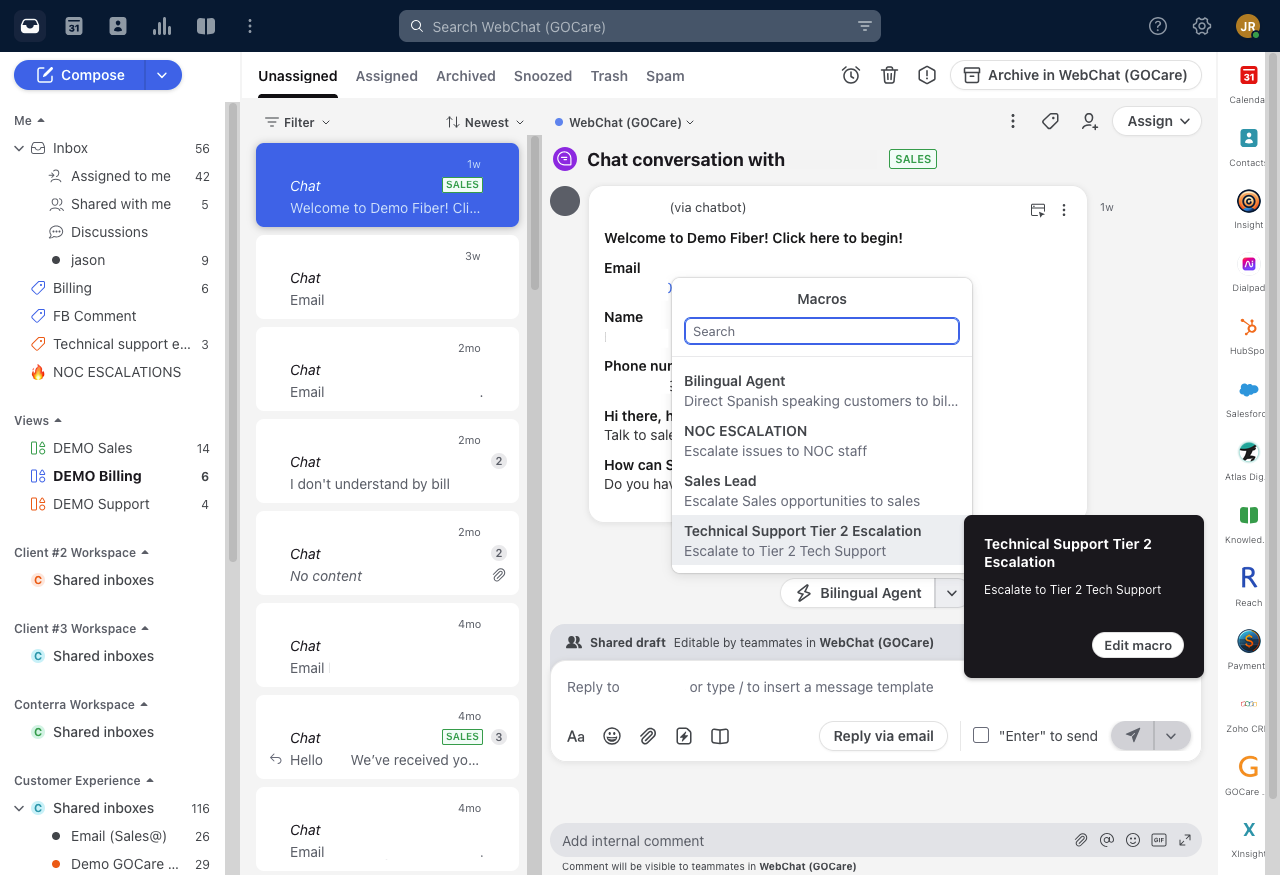
Description: Shown in tooltips and helps AI recommend usage.
Example: “Use when a customer reports an unresolved technical issue requiring Tier 2 escalation.”
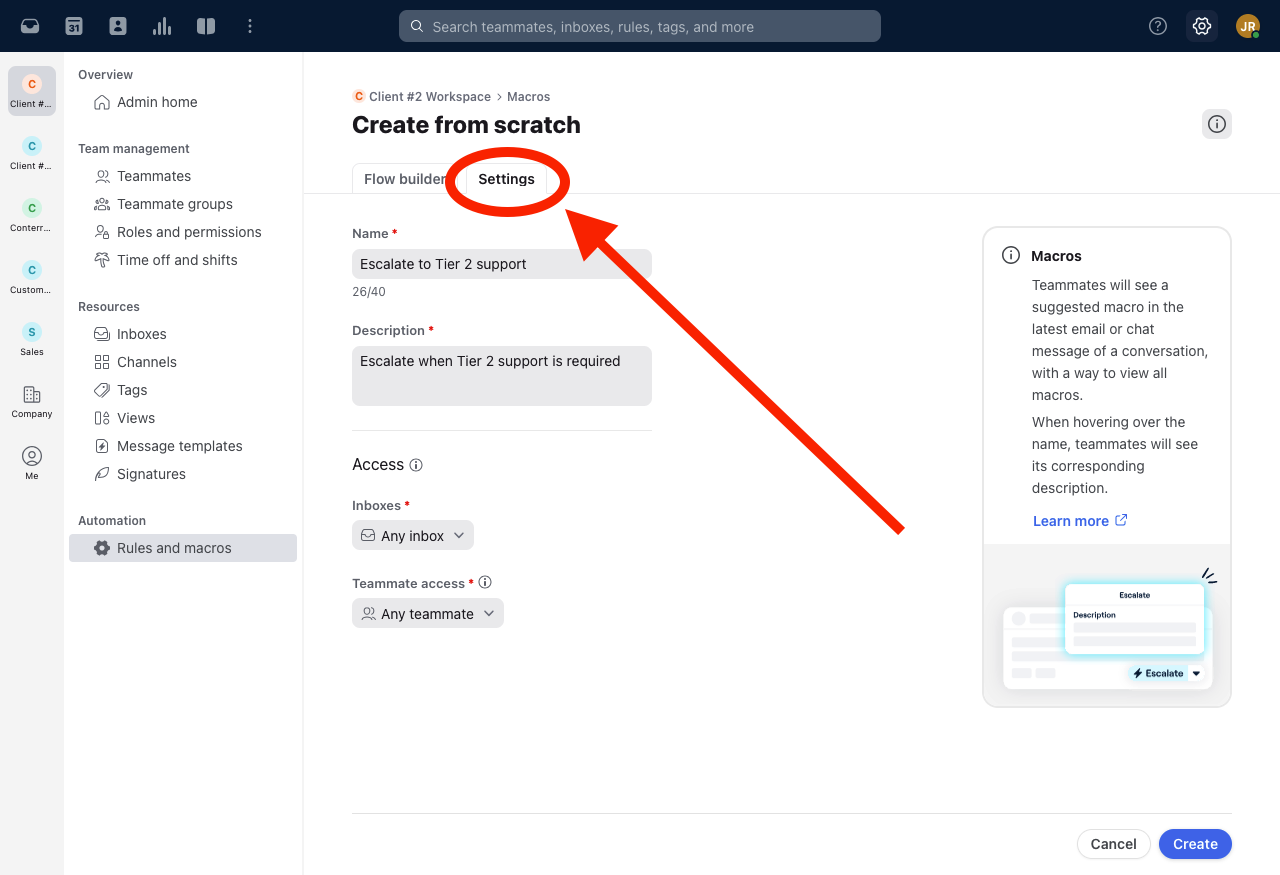
Assign Macro Access:
Inboxes: Choose which inboxes can use this macro.
Teammates: Restrict usage to specific users or groups (e.g., only the
Supportteam).
Save the Macro:
Click Create to publish the macro.
Using a Macro in a Conversation
Open a conversation in a shared inbox.
Click the macro icon within the conversation window.
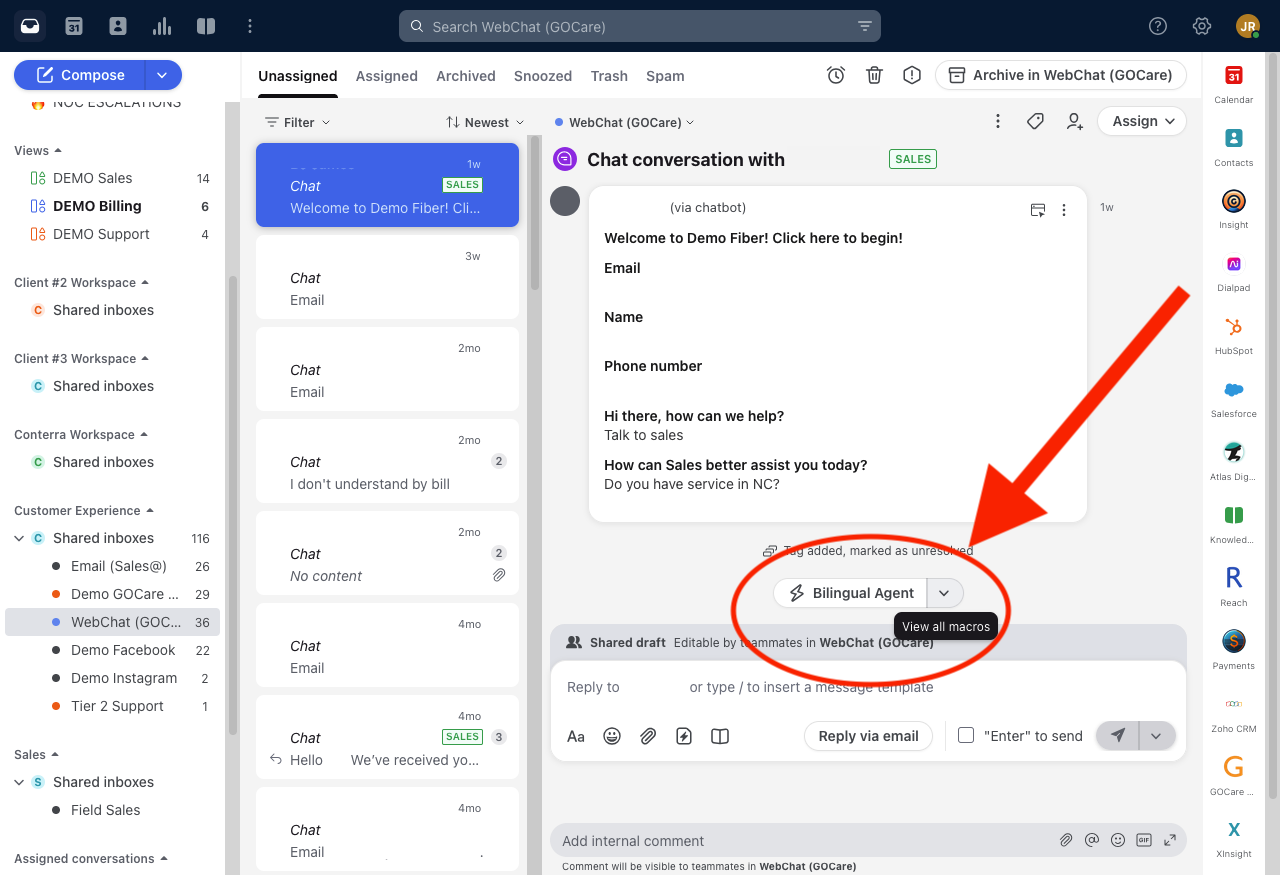
Select your macro from the list.
Confirm the success message after the macro is applied.
View macro history in the conversation's activity log.
Routing and Tagging in Macros
Macros commonly:
Move conversations between inboxes.
Tag messages with context labels like
Billing Inquiry,Urgent, orSLA Breach.Add internal comments or notifications to teammates for coordination.
Macros can also support SLA policies—for example, tagging a chat as SLA Breach if it's unanswered after 2 minutes and routing it to a supervisor inbox.
Restrict vs. Retain Participants
When moving a conversation to a new inbox:
Restrict participants (default): Teammates lose access if they don’t have permission for the destination inbox.
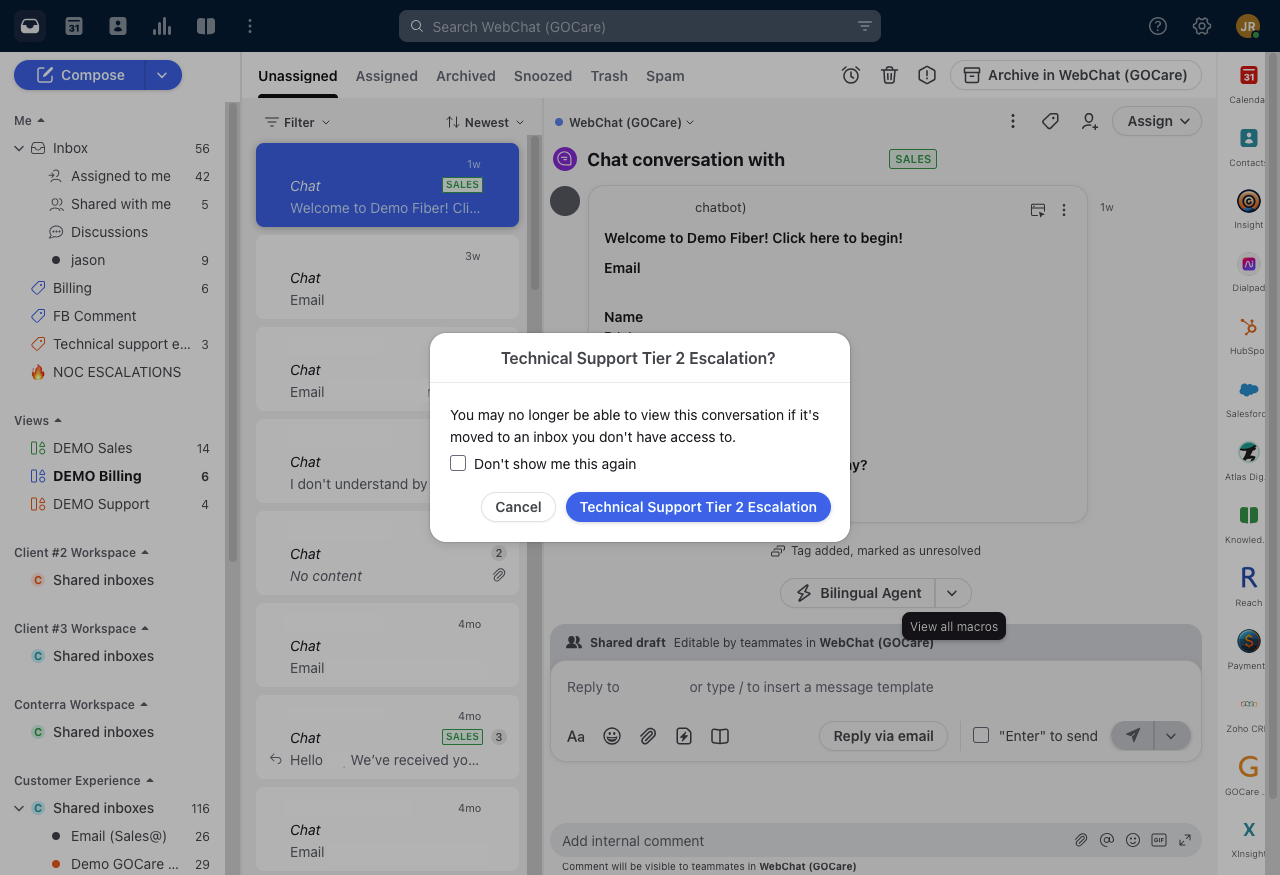
Keep participants: Original participants retain access even without inbox permissions. Use with care, and only when broader visibility is required.
Macro Visibility: Teammates and Inboxes
Visibility can be tailored by:
Inbox: Limit macros to only appear in relevant shared inboxes.
Teammate access: Restrict usage to specific users or groups.
This ensures macros appear only where they’re needed and reduces the risk of errors by unauthorized use.
Best Practices
Name clearly: Use action-driven names like “Route to Tier 2” or “Notify Sales – Urgent”.
Test thoroughly: Try each macro in a test environment or non-sensitive message before rolling it out.
Use descriptions well: Help teammates quickly understand macro purpose, especially when multiple macros exist.
Limit overuse of branches: While powerful, too many conditional branches can make macros hard to troubleshoot.
Audit usage: Use Connect’s built-in Analytics to track macro performance and adoption over time.