
Customizing the Webchat Widget in GOCare Connect
Quick Summary
This article explains how to customize the webchat widget in GOCare Connect. It covers branding and appearance settings, legal notices, and how to add a proactive greeting message to your chatbot.

Webchat appearance settings
You can tailor the appearance of your webchat widget to align with your brand’s visual style. All customization options are managed within your webchat channel settings in GOCare Connect.
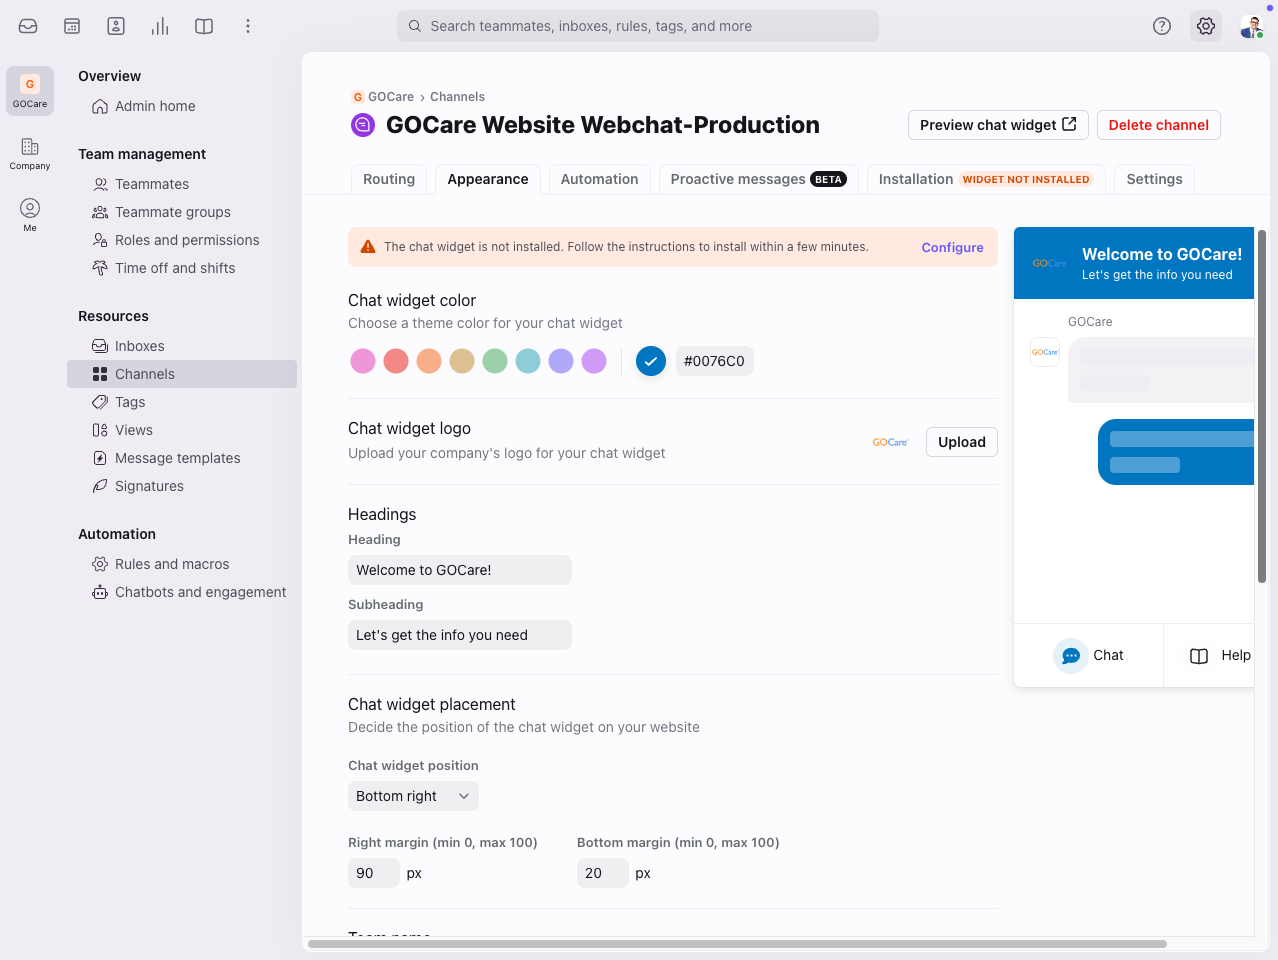
Theme color
Changing the chat window color adjusts the theme color used throughout the chat interface. The widget’s structure and image are not editable—only the color scheme can be customized.
Logo
Upload your company logo to be displayed in the chat header. This helps reinforce brand identity in every conversation.
Heading and subheading
You can personalize the Heading and Subheading text that appears at the top of the chat window. These fields often include a greeting or call to action, such as:
“Welcome to Support”
“We’re here to help – just ask!”
Widget placement
Choose where the chat widget appears on your site. Placement is typically managed during widget installation via your web team, but the setting is defined in your Webchat Channel configuration. By default, the widget appears in the bottom righthand corner of the screen.
Display preferences
Team name
This is the name displayed as the sender for welcome messages. Choose something that reflects your support team (e.g., “(Company) Support” or “Customer Care”).
Name and avatar for display
You can select how agent identity appears in the chat interface:
Use agent name and photo – displays the individual user handling the conversation
Use team name and company logo – displays your team name and logo as the default sender
“Powered by Front”
This setting is always disabled for GOCare implementations. The "Powered by Front" label is not shown in the final widget.
Show legal banner
You may choose to show a banner at the start of the chat disclosing data practices to your visitors. The default message is:
“You consent to the monitoring and recording of this chat by (company name) and its vendors for service improvement purposes.”
You can modify the message to suit your organization’s compliance or legal language.
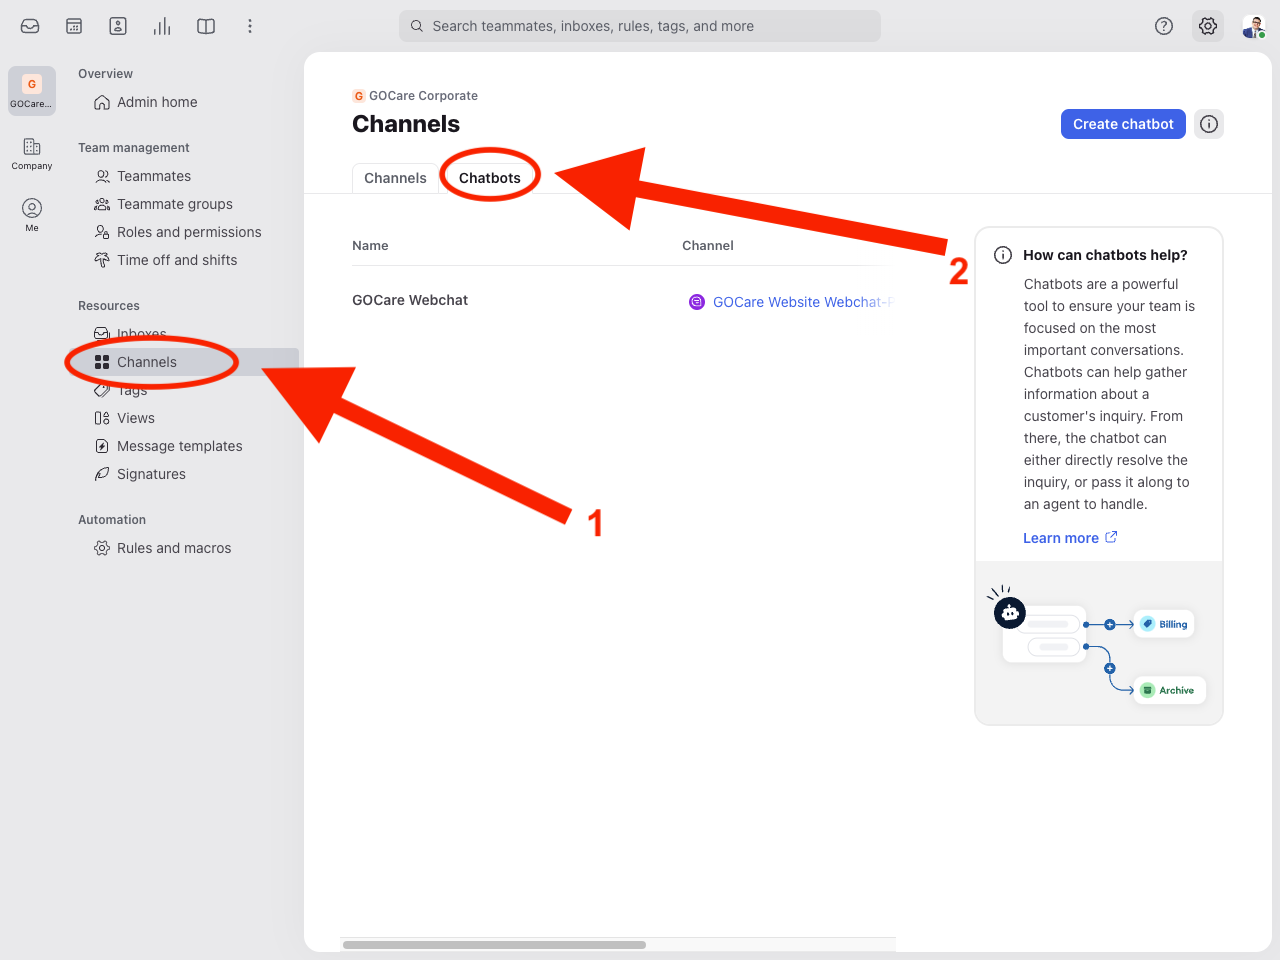
Chatbot identity and routing settings
To configure your chatbot’s identity and routing behavior, go to the Chatbot within your channels, and select the chatbot you would like to edit.
Then select the Settings tab in the top-right of the Flow Builder.
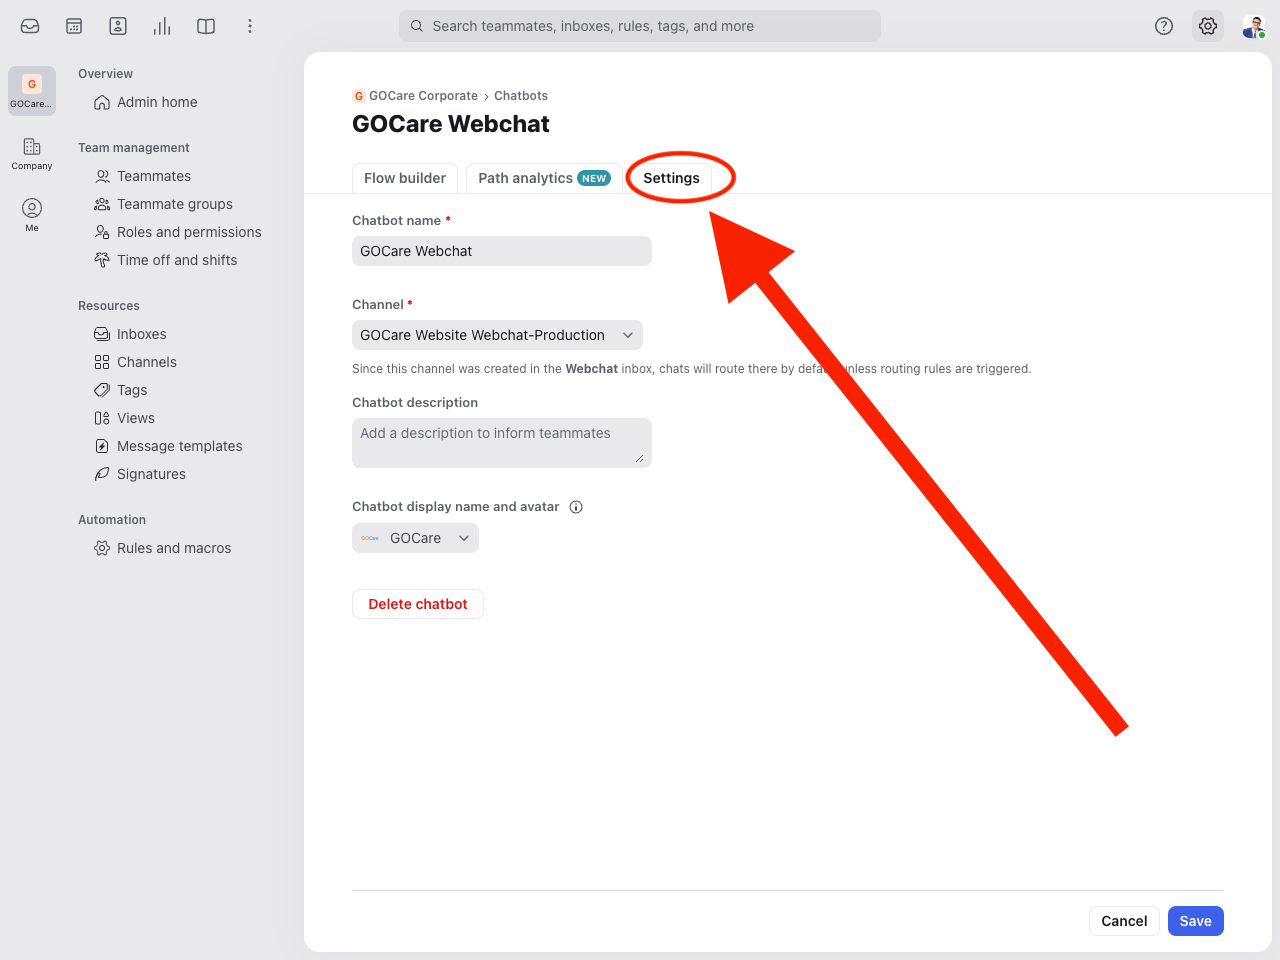
There are four main configuration fields:
Chatbot name
This is for internal use only. Give your chatbot a clear, memorable name so teammates can quickly identify which flow is in use.
Channel
This setting shows the channel the chatbot is associated with. By default, conversations initiated through this chatbot will route to the connected channel. You can override this using routing rules.
Chatbot description
Add a short description to help teammates understand the bot’s purpose—for example, “Basic support triage bot with live agent escalation.”
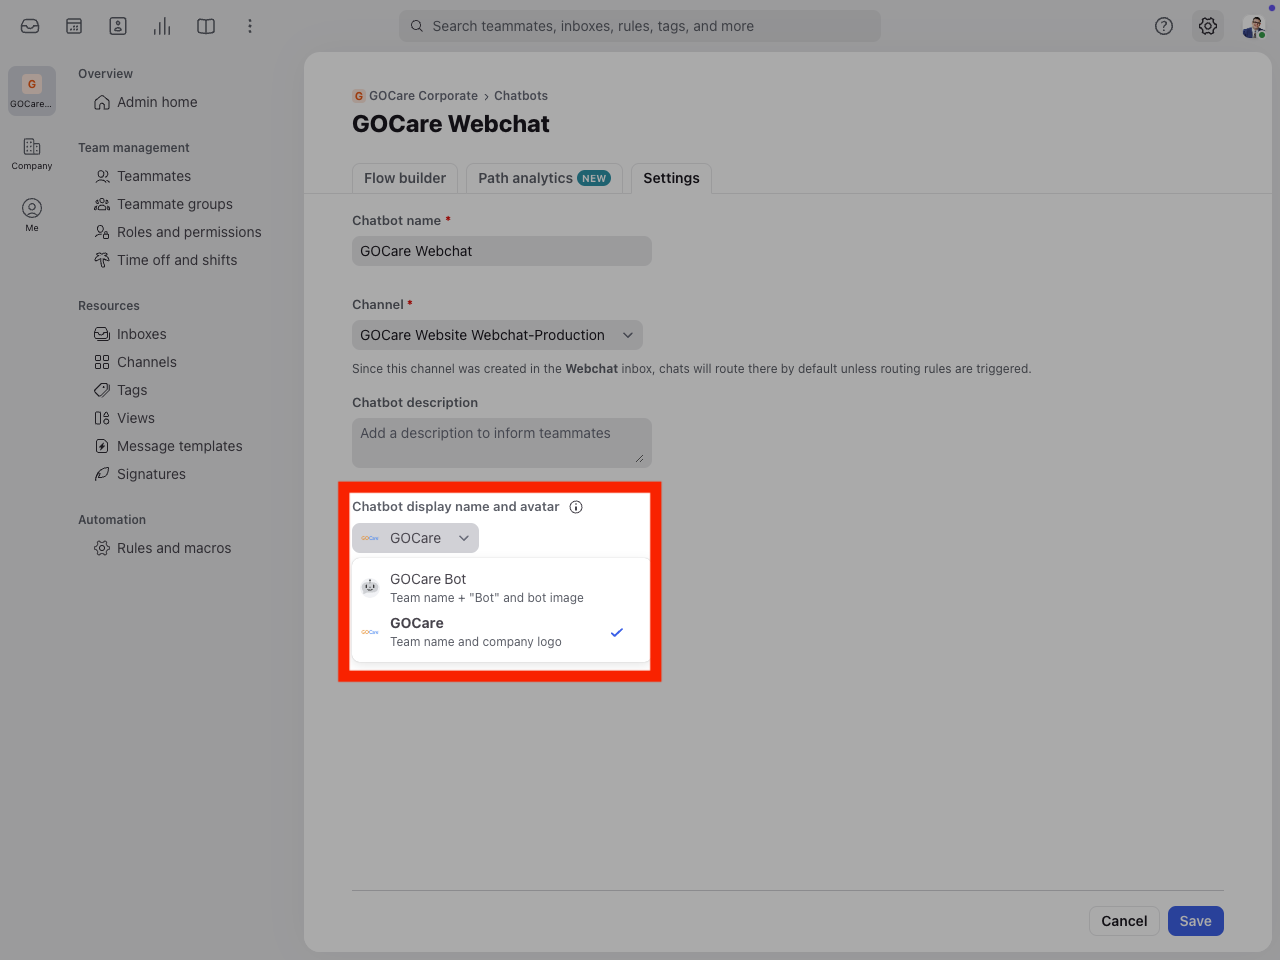
Chatbot display name and avatar
These control how the chatbot is presented to customers. You can choose between:
Team name + “Bot” and a bot icon
Team name and company logo (currently used in most GOCare implementations)
Proactive message configuration
You can set up proactive messages to initiate conversations automatically, enhancing engagement before a user clicks the chat icon.
Setup steps
Click the gear icon in GOCare Connect (top right corner)
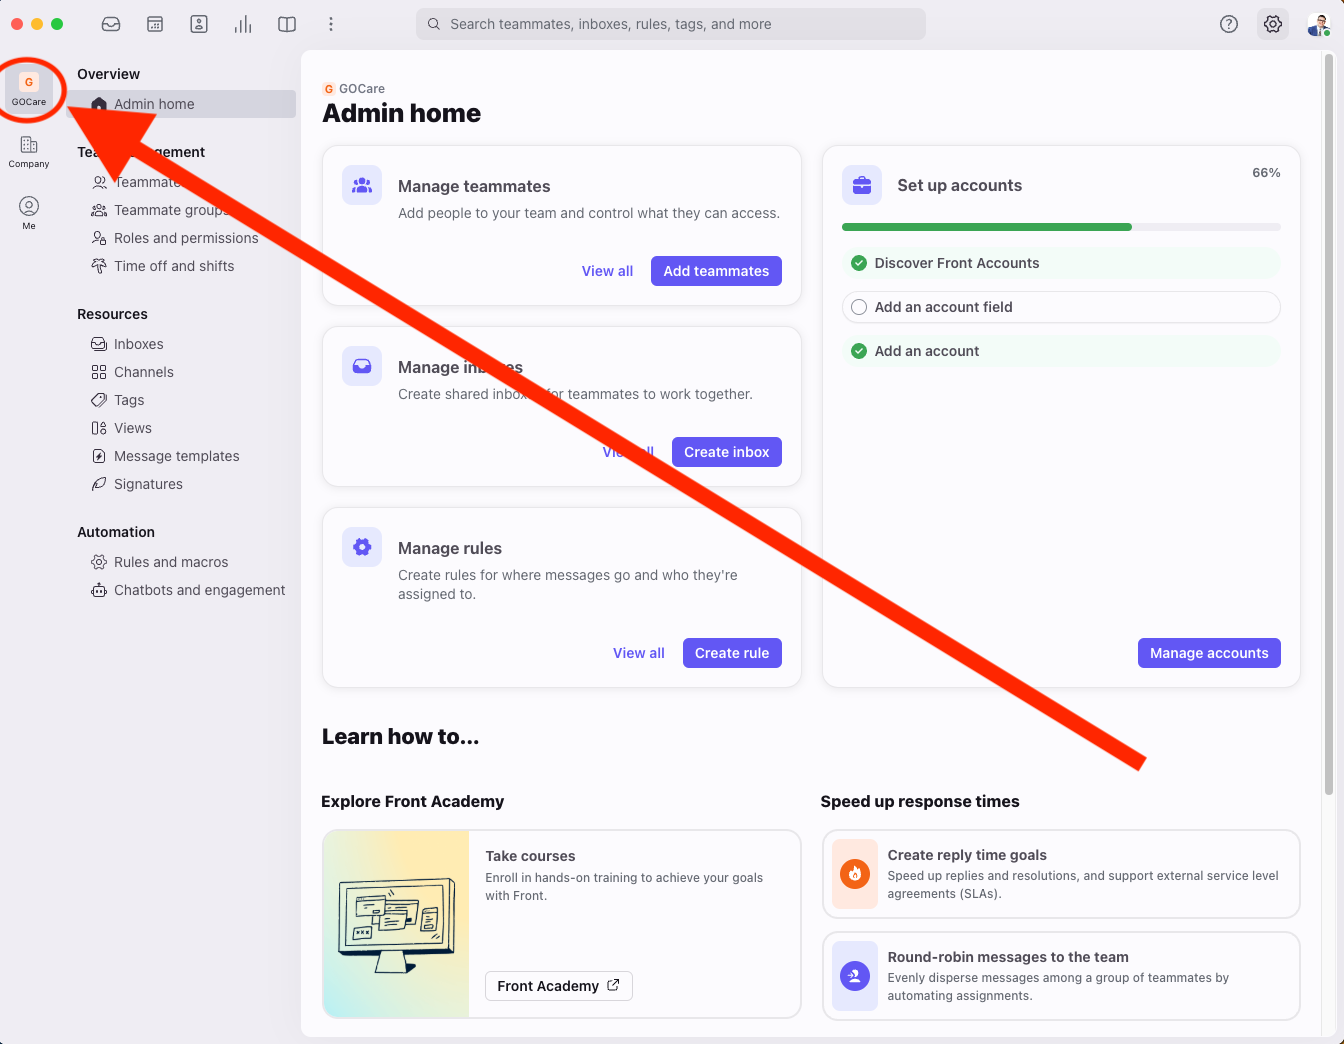
Select your workspace name
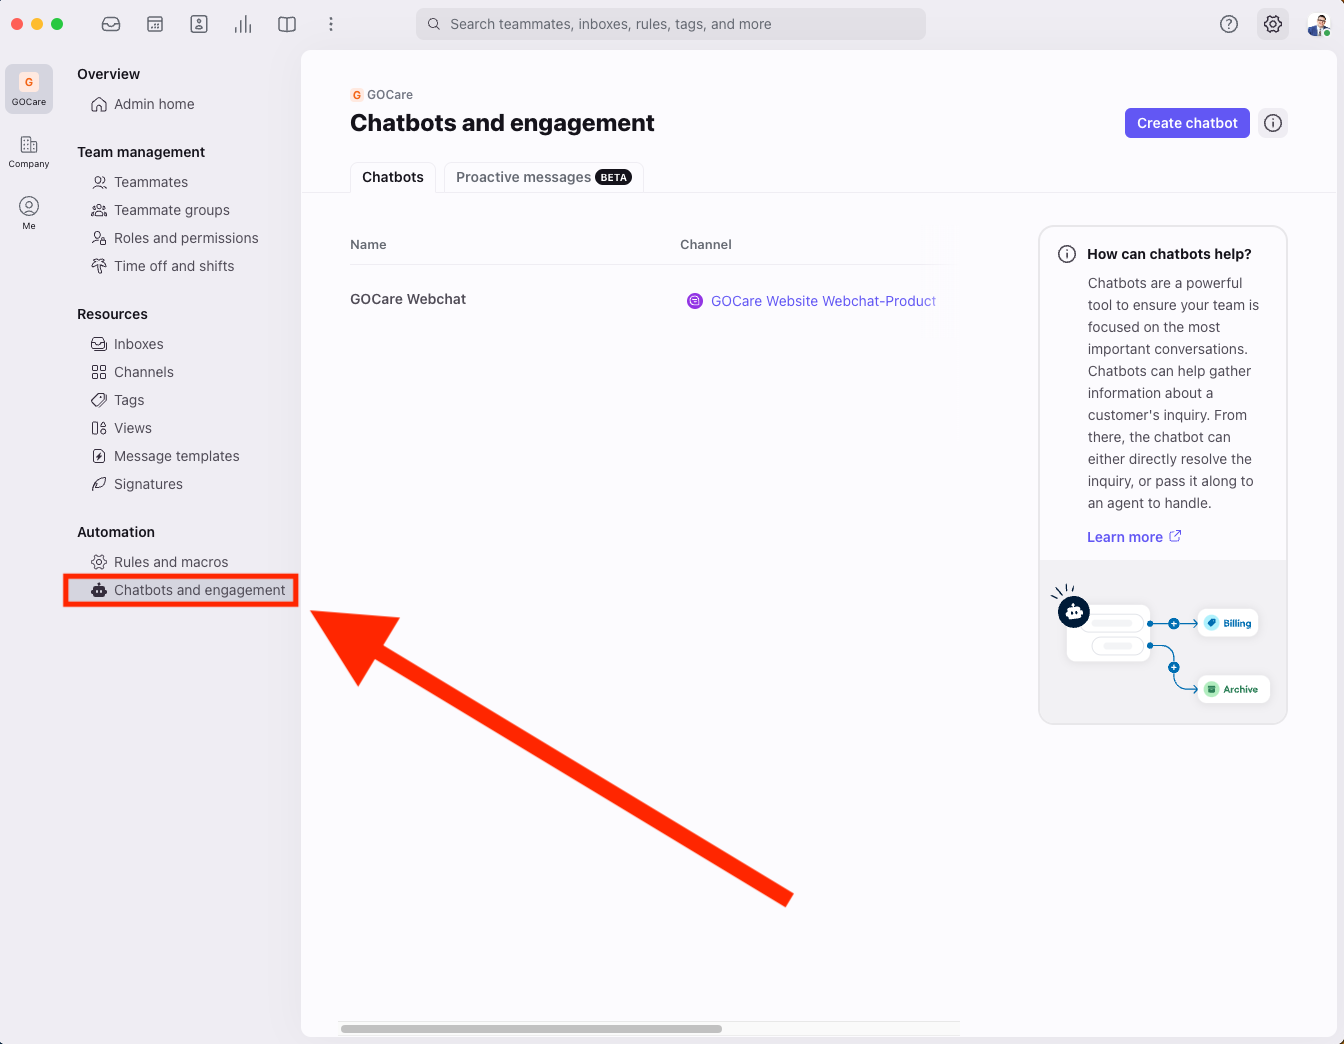
Chatbots and engagement
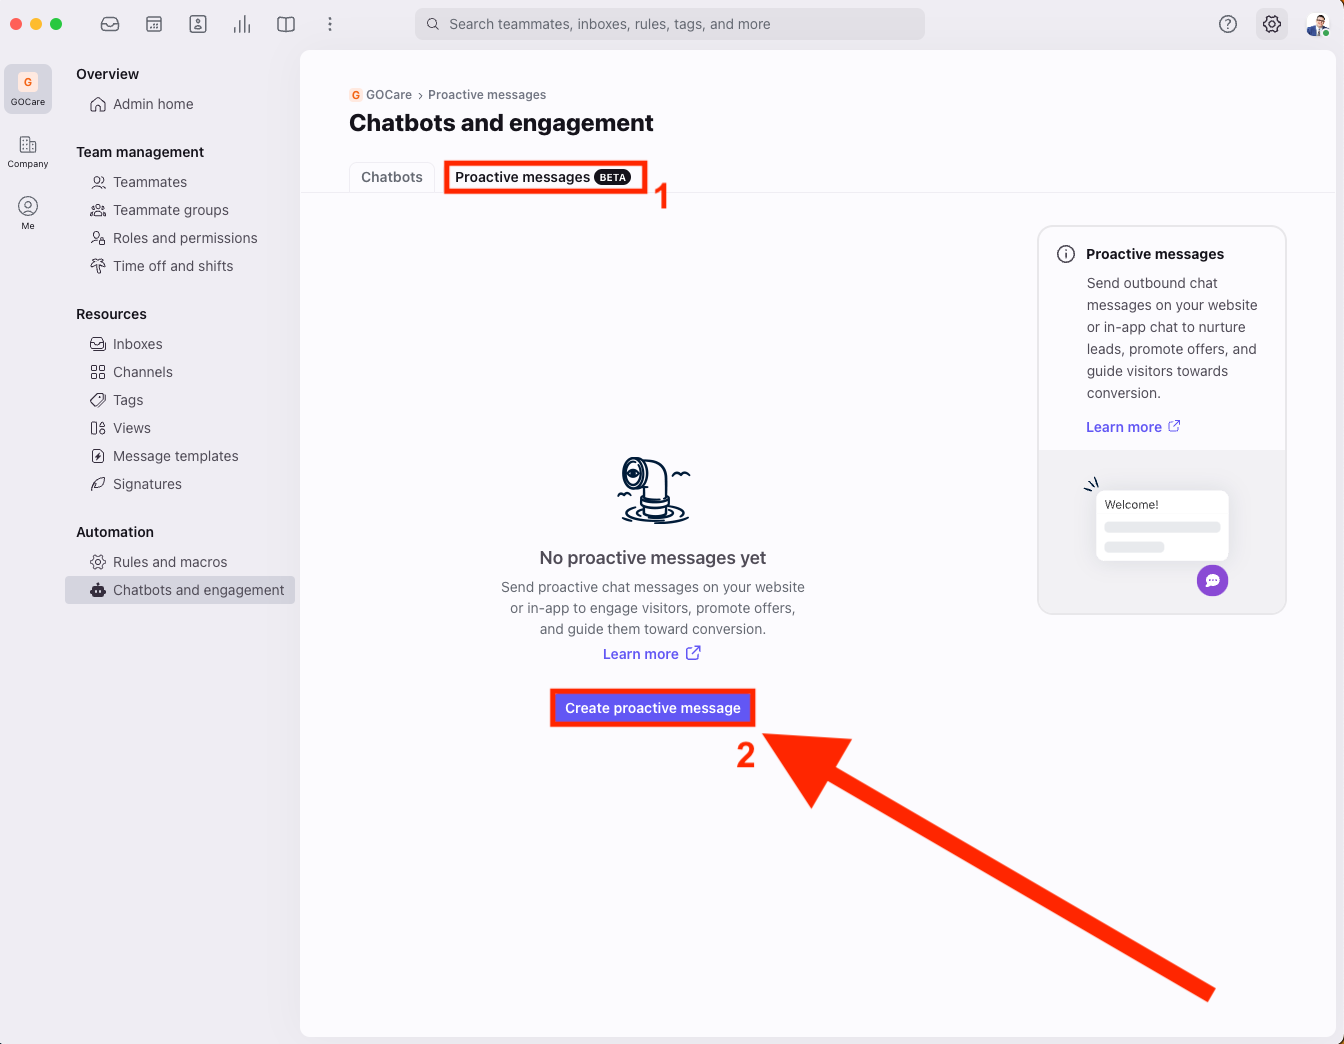
Click Create proactive message
Message components
Name: Internal reference only
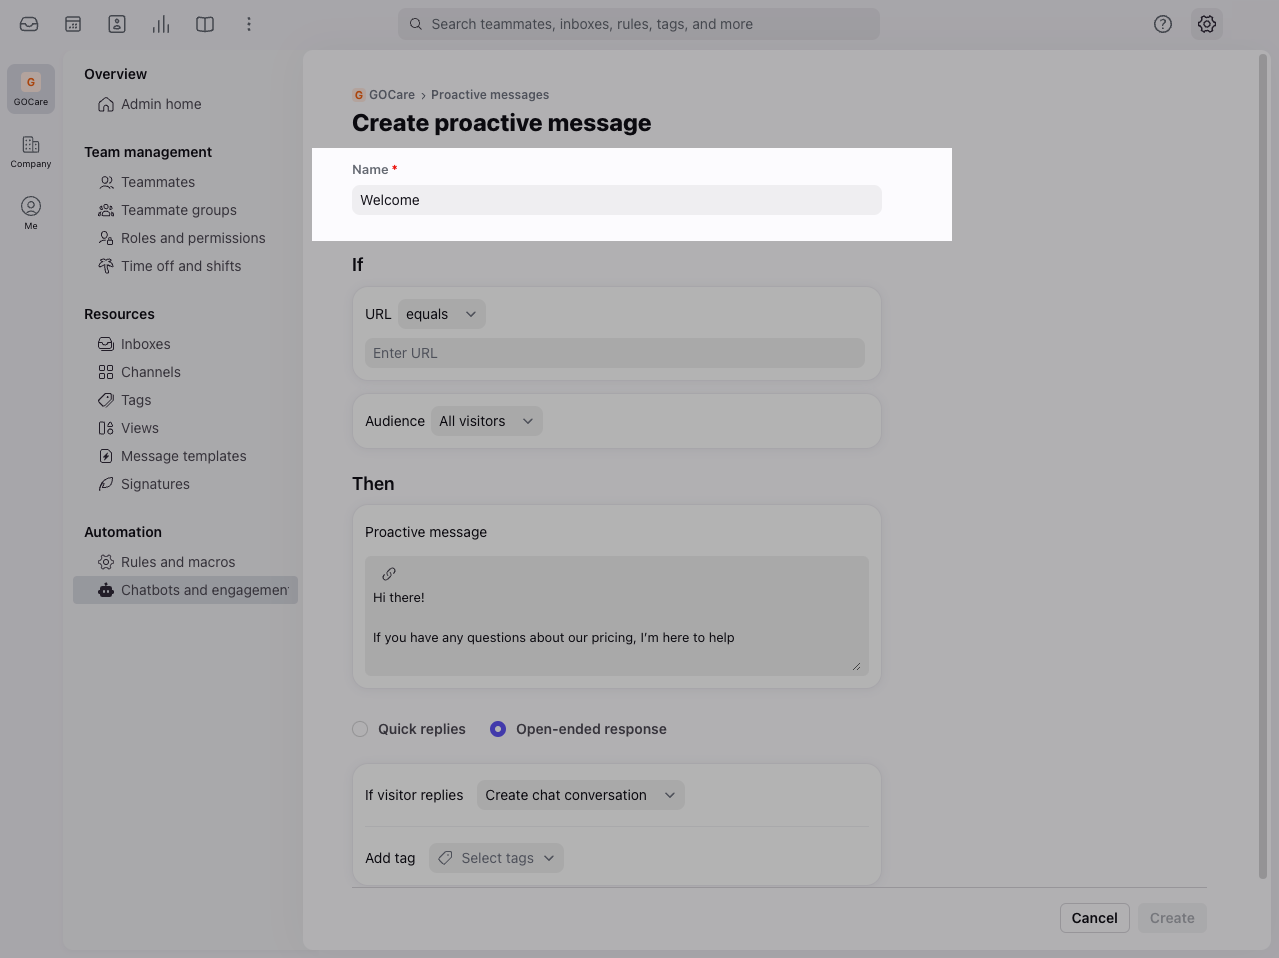
If section (Conditions):
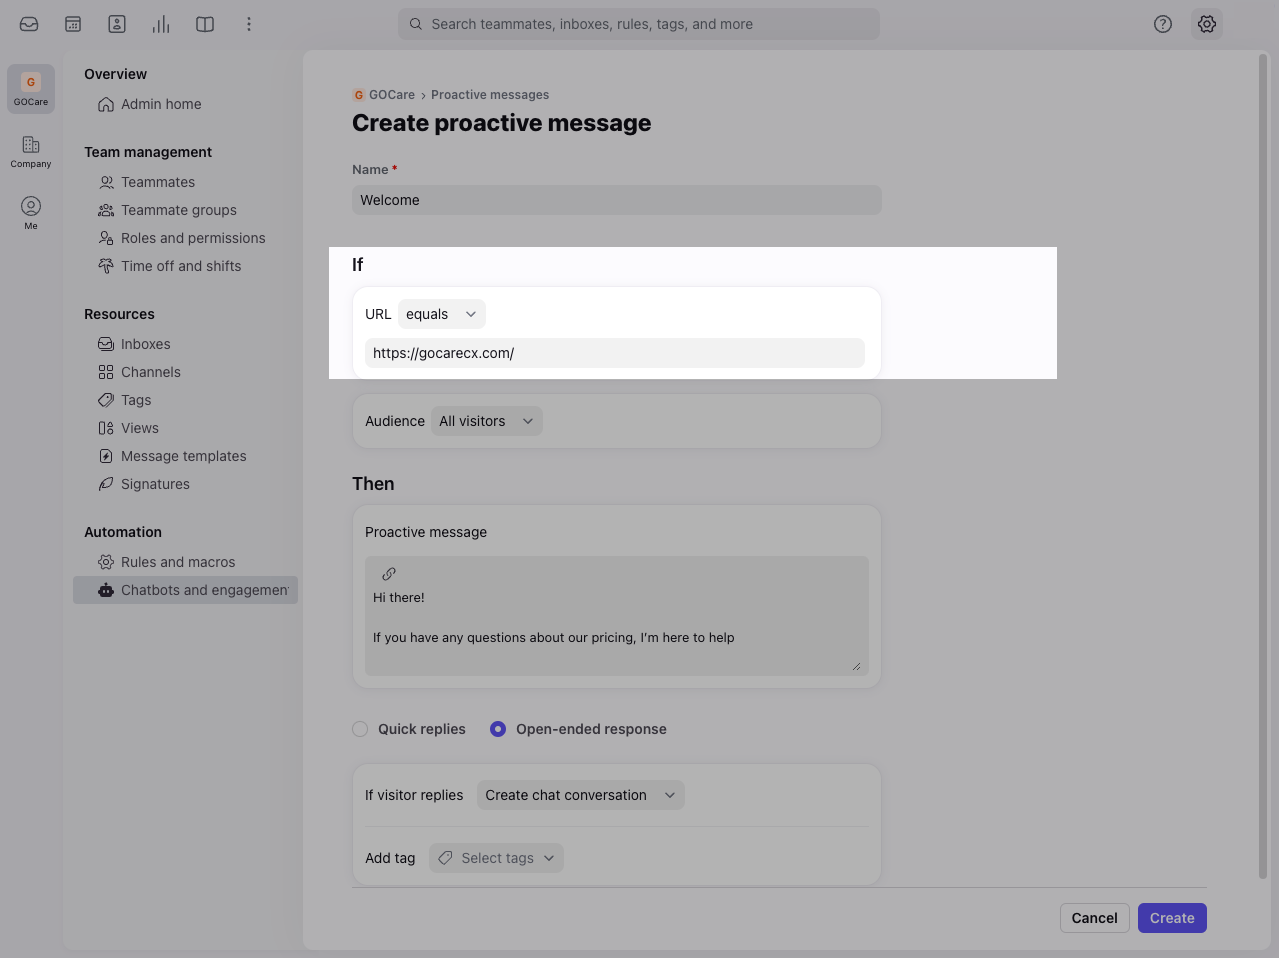
URL: Define where the message will trigger (e.g., homepage)
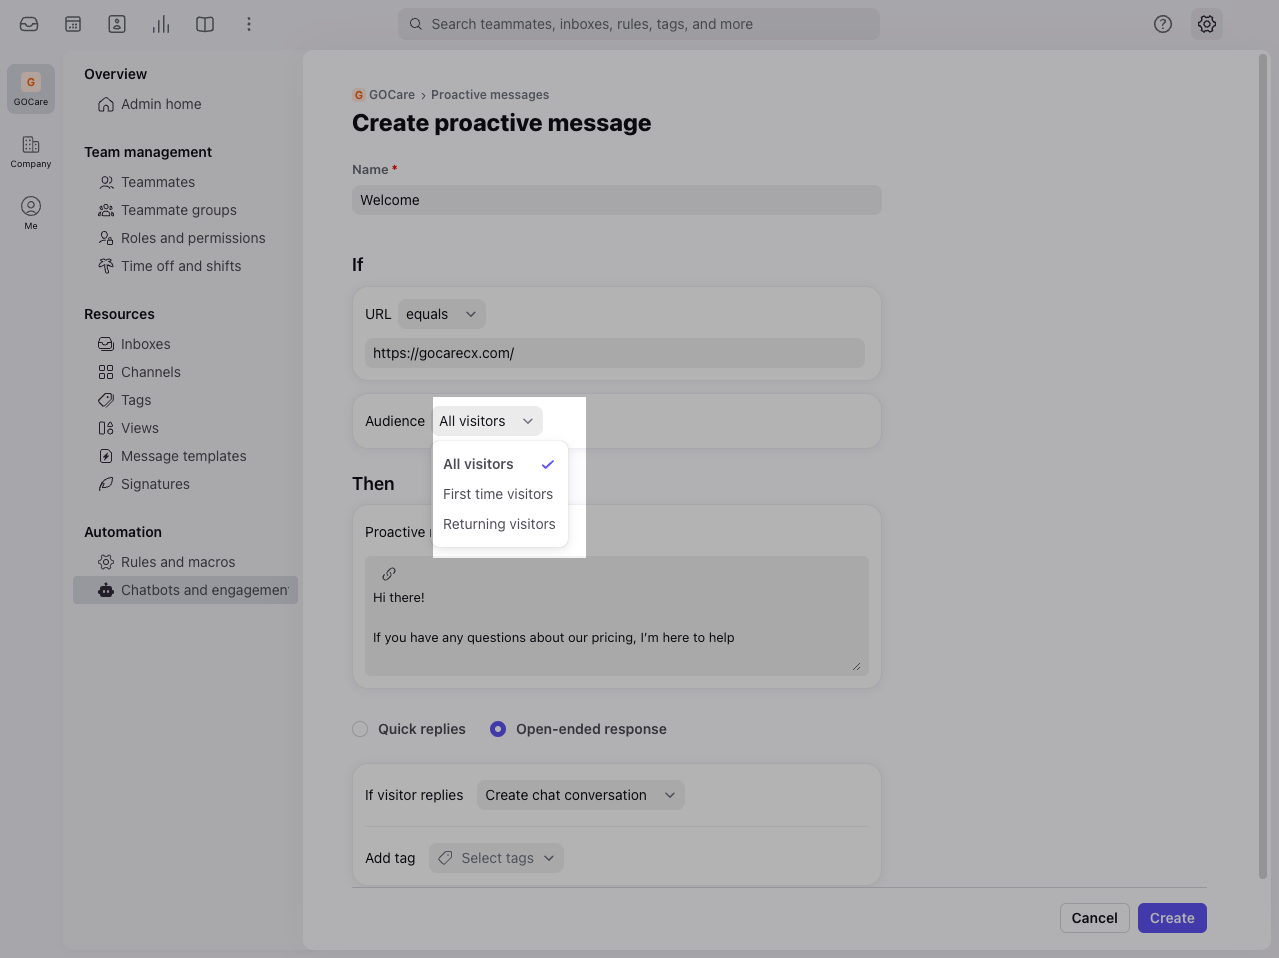
Audience: Choose between all visitors, first-time, or returning
Then section (Actions):
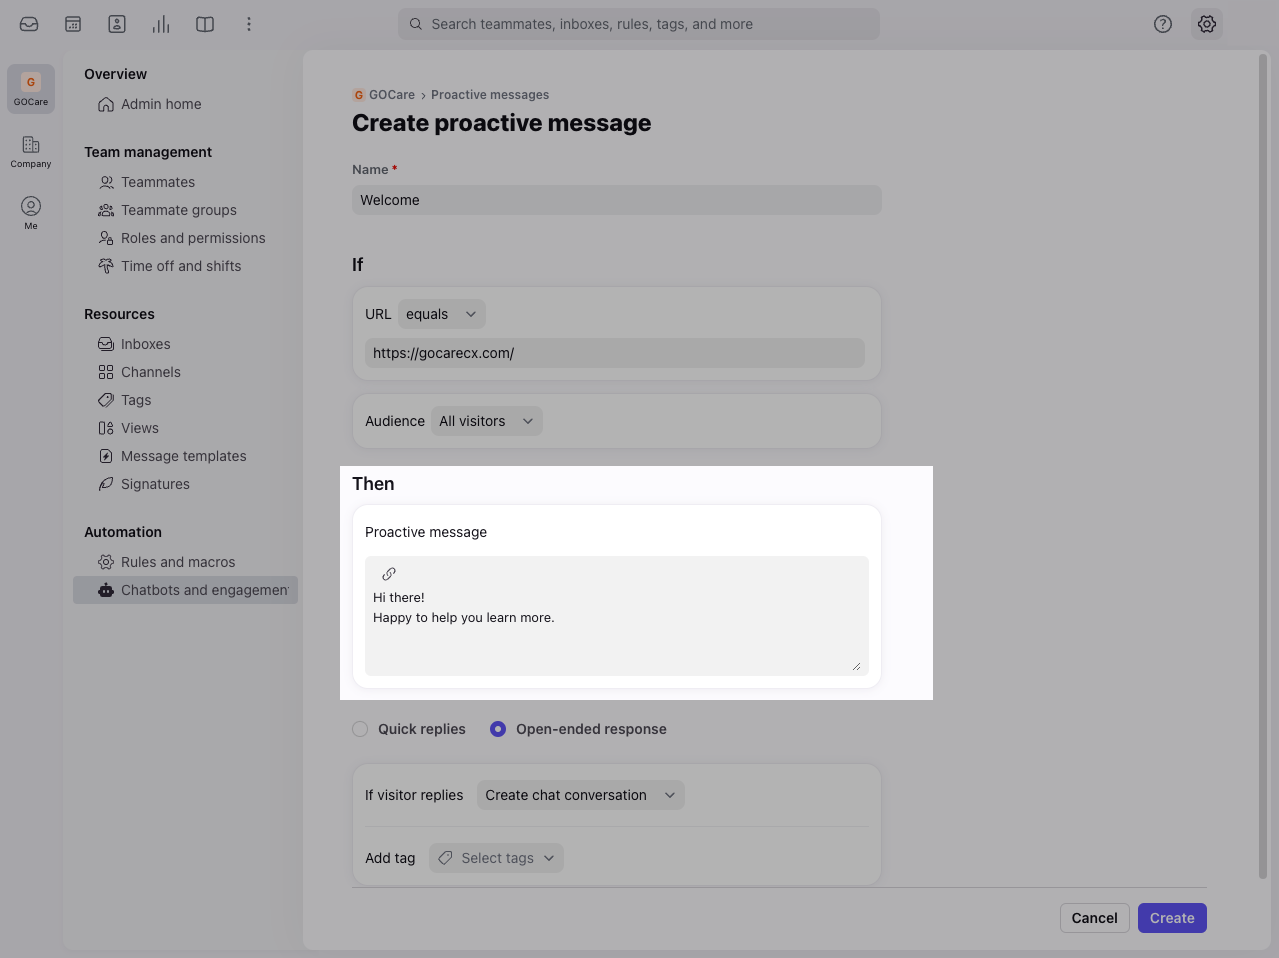
Proactive message: The actual message shown (plain text only)
Reply type:
Quick reply: Provide two selectable options
Open-ended: Let users type freely
Follow-up action: Start chat, send email, or continue to a botflow
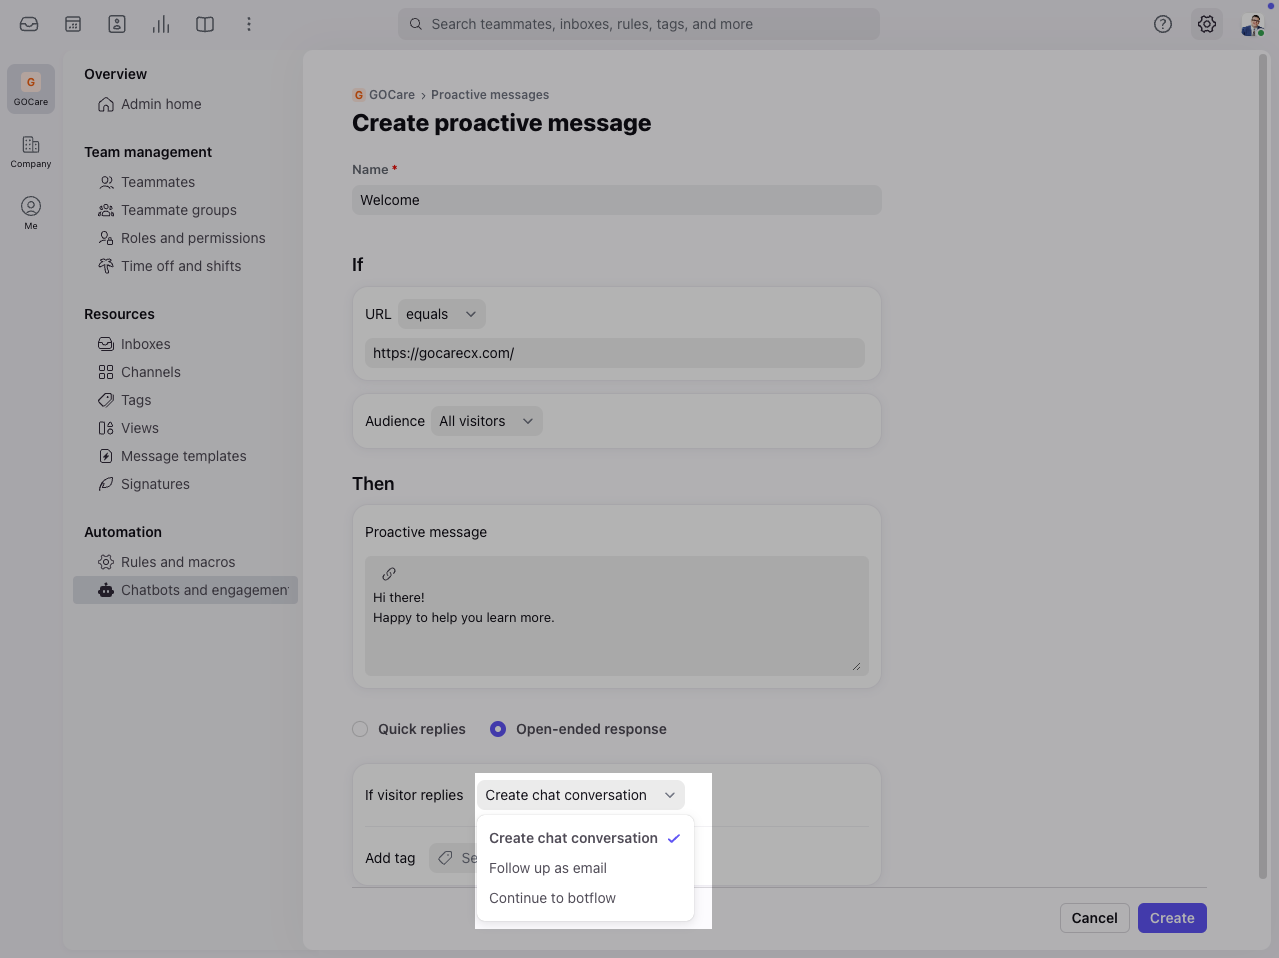
Tag (optional): Apply a tag to route or report on the conversation
Activation
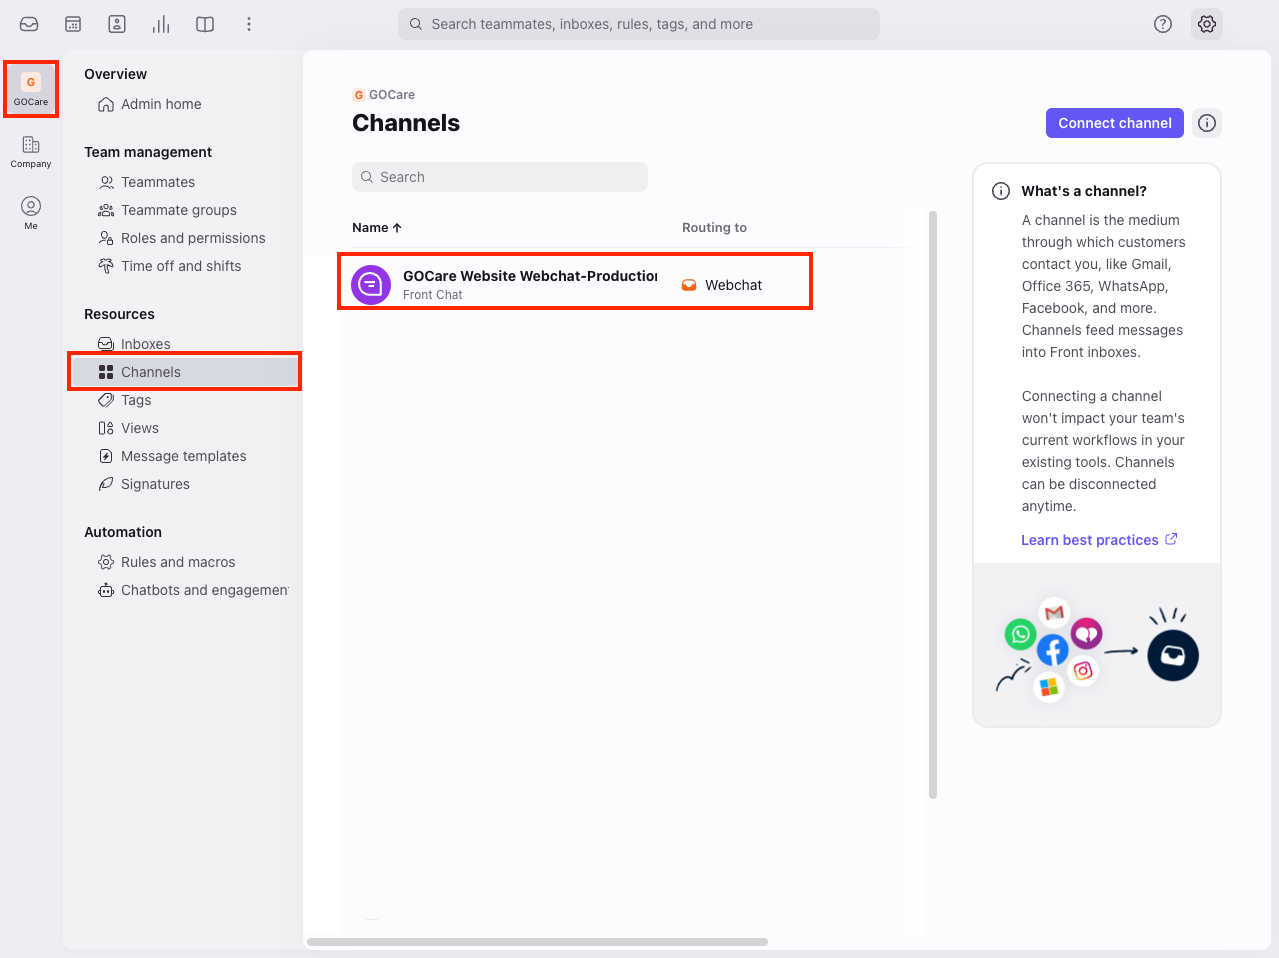
Go to the Channels page
Select the Front Chat channel
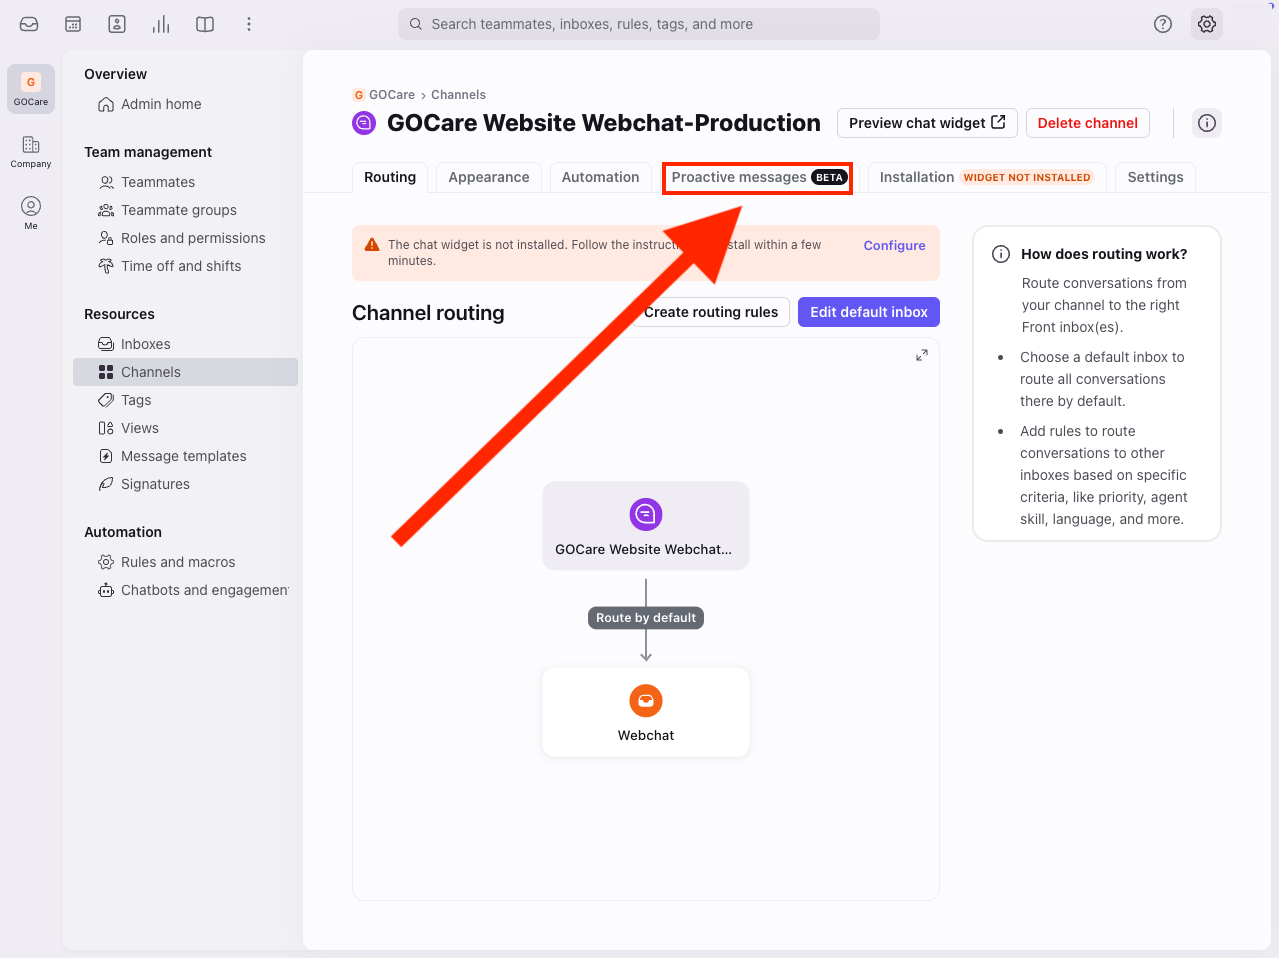
Open the Proactive messages tab
Toggle ON the message to enable it
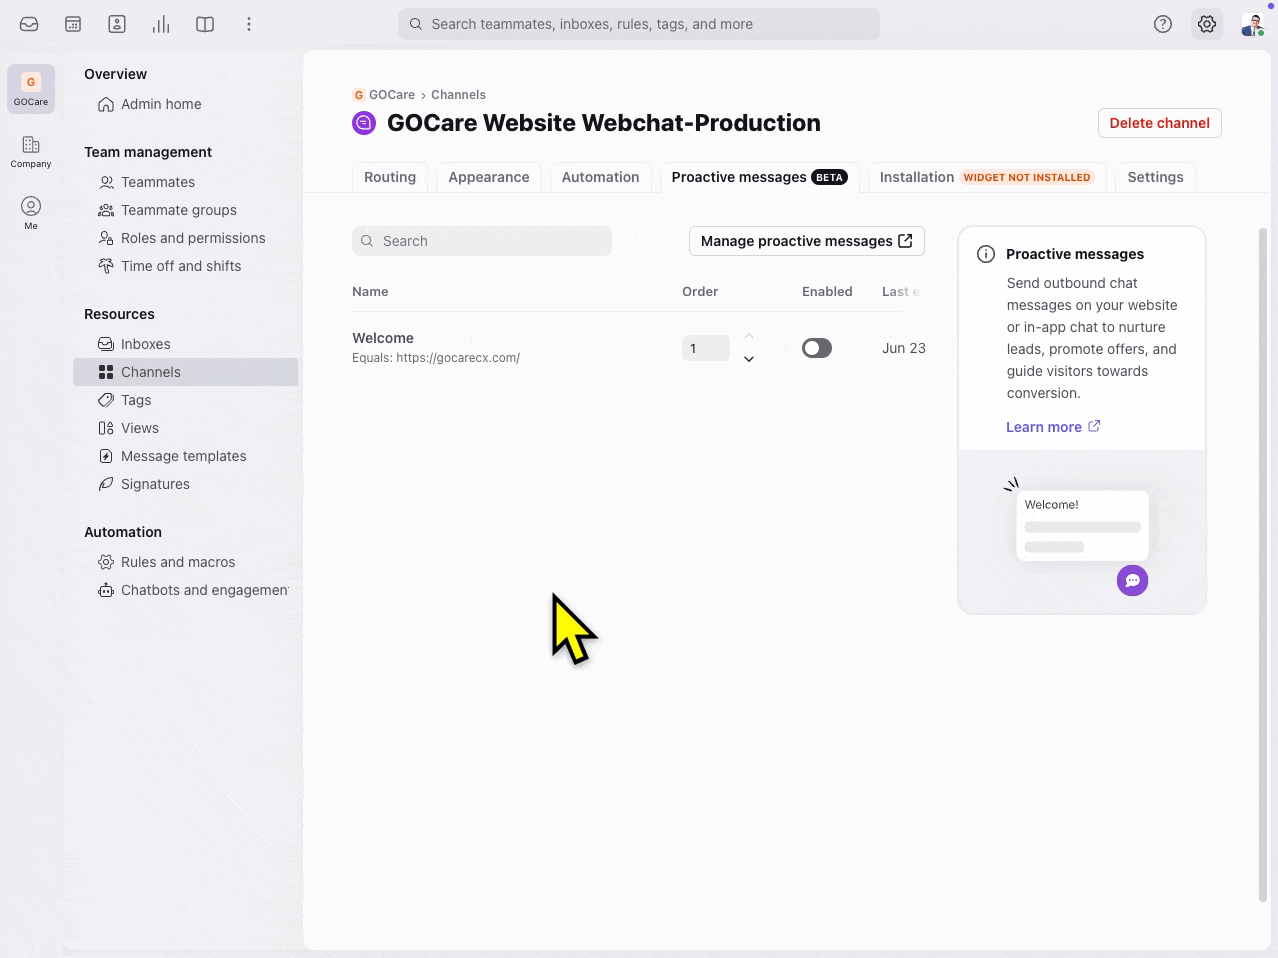
💡 Tip: You can set up multiple proactive messages per channel. Use sort order to control display priority.
Visitor and agent experience
What visitors see
Proactive messages display above the chat widget 7 seconds after landing on the specified page. It appears as the first message when the widget opens.
Quick replies show the two button options you configured
Open-ended messages provide a text field
What agents see
Agents receive the visitor’s response as the first message in the chat conversation, tagged (if applicable) and visible in their queue.
Legacy banner and notification badge method
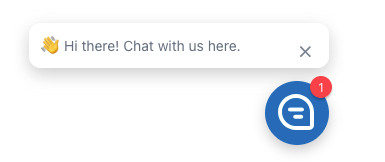
You can configure a chatbot greeting to appear proactively when a user visits your site. This creates a pop-up banner and triggers a badge on the chat icon.
Follow these steps:
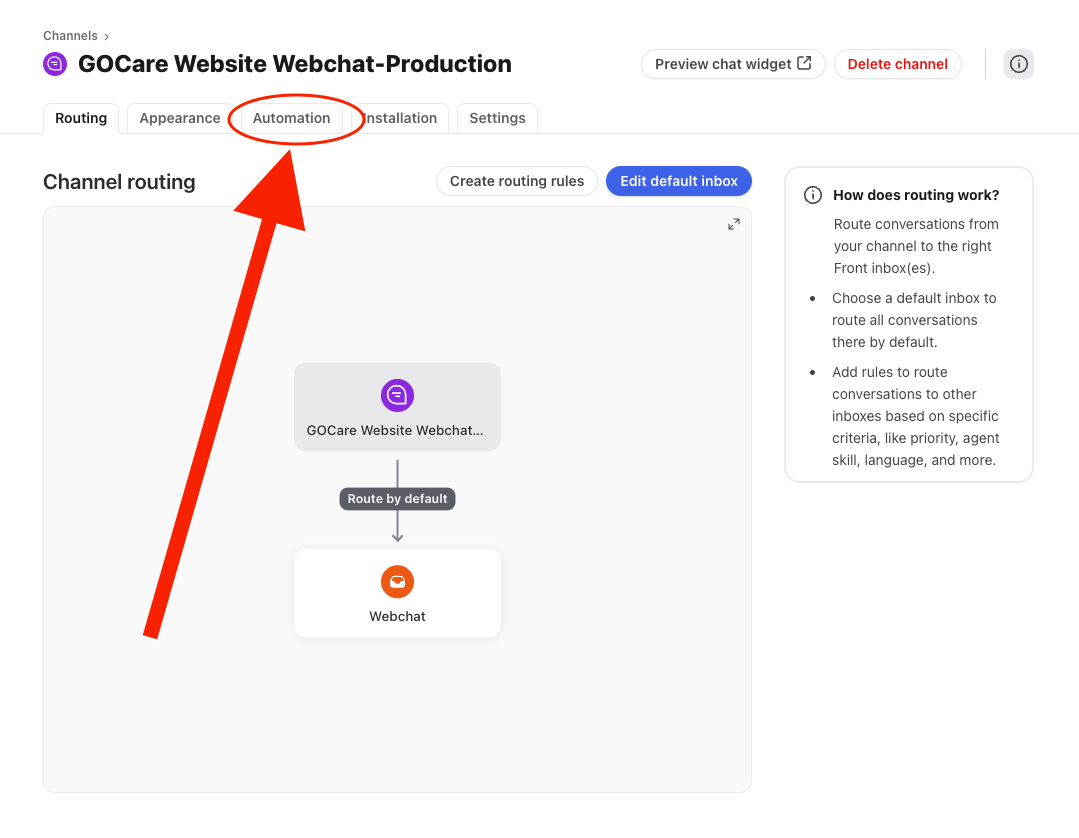
Navigate to your Webchat Channel in GOCare Connect.
Select the Automation tab.
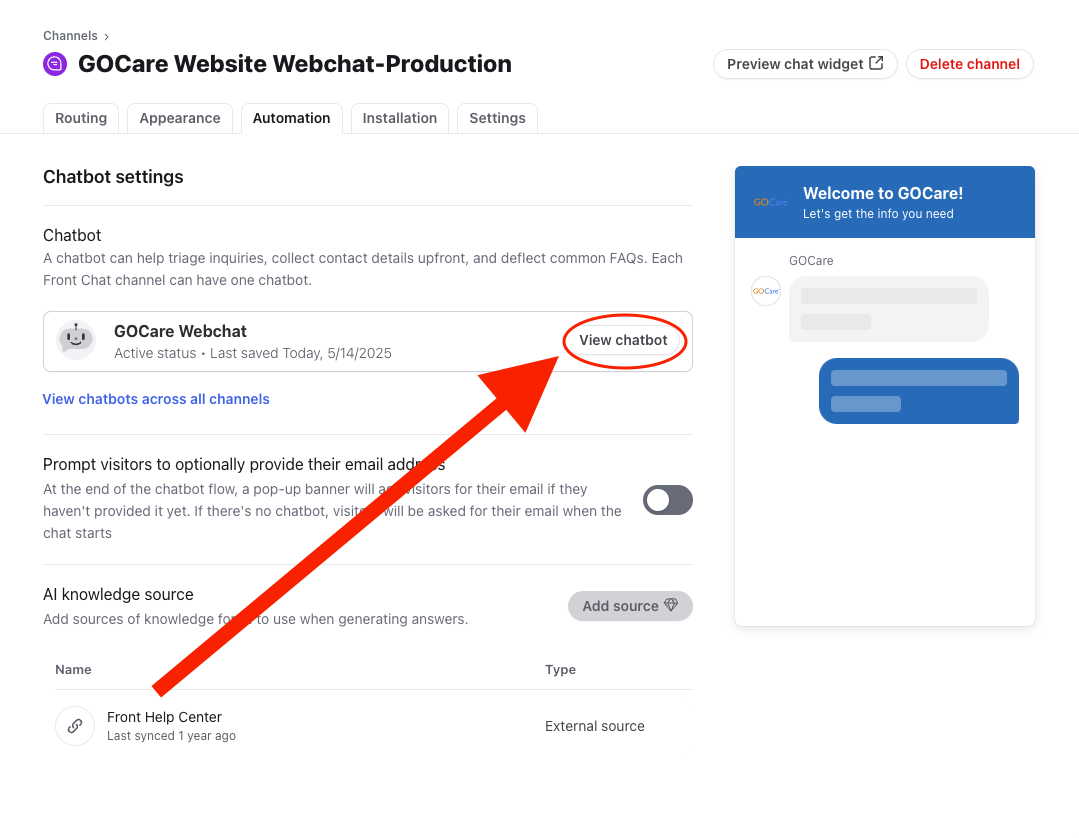
Under Chatbot Setting, click View chatbot to open the Flow Builder.
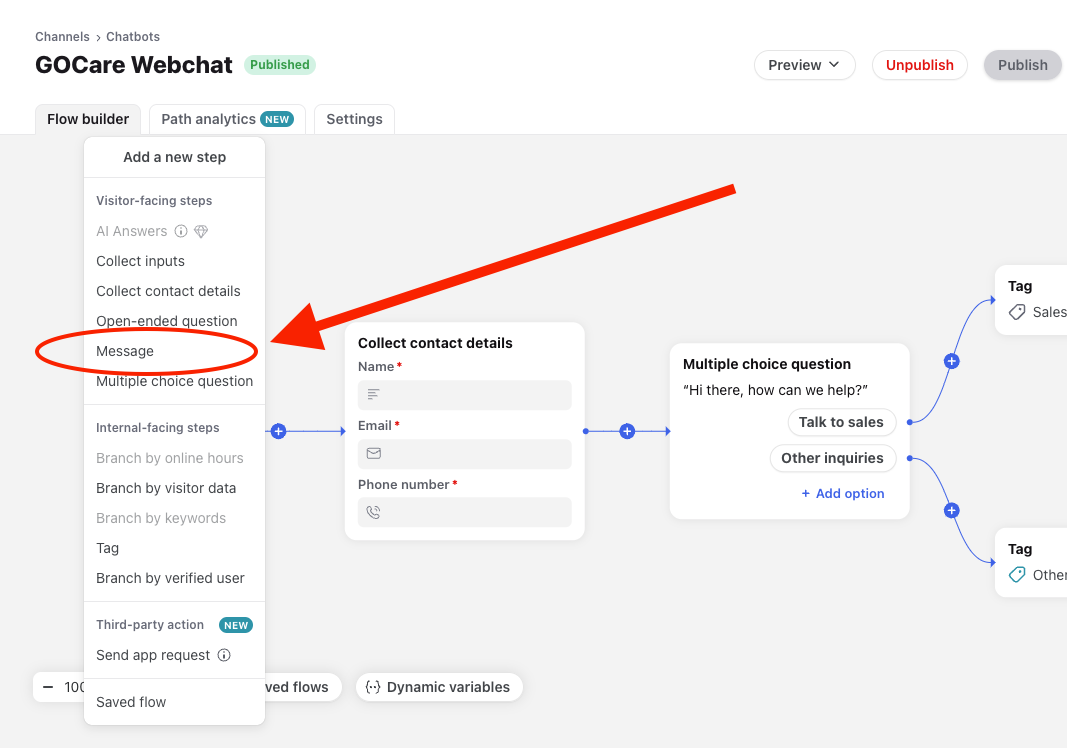
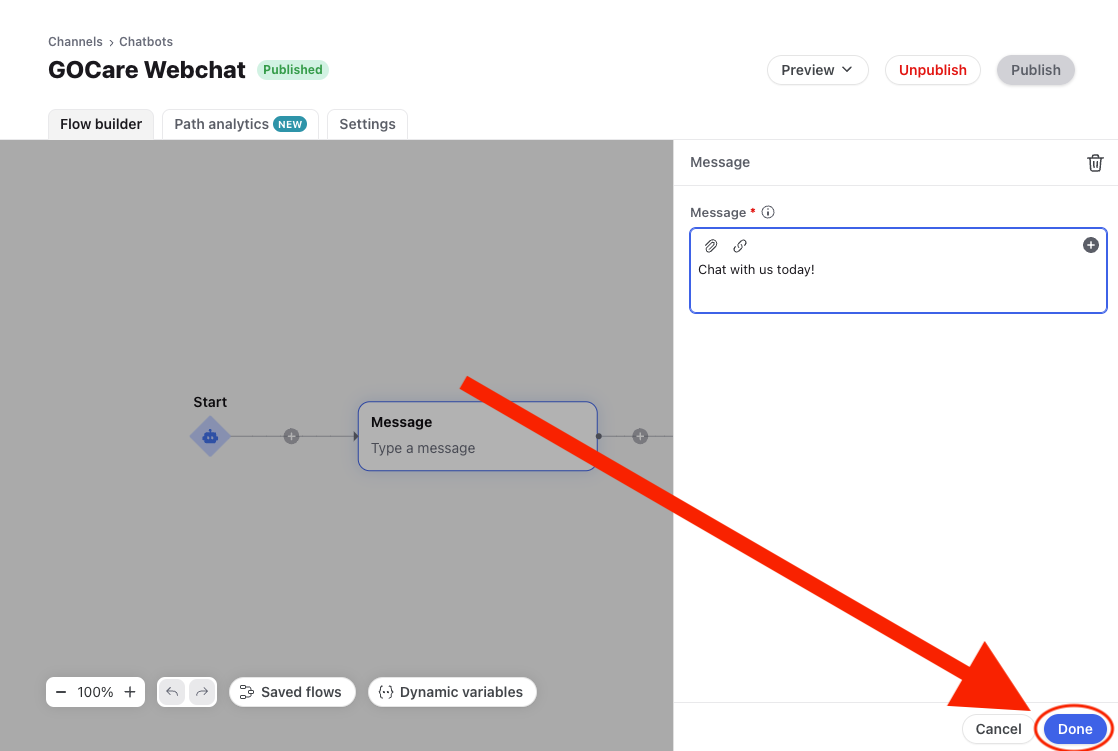
Add a new step immediately after the Start node.

Choose Message from the list of step types.
Enter your banner message. Some examples include:
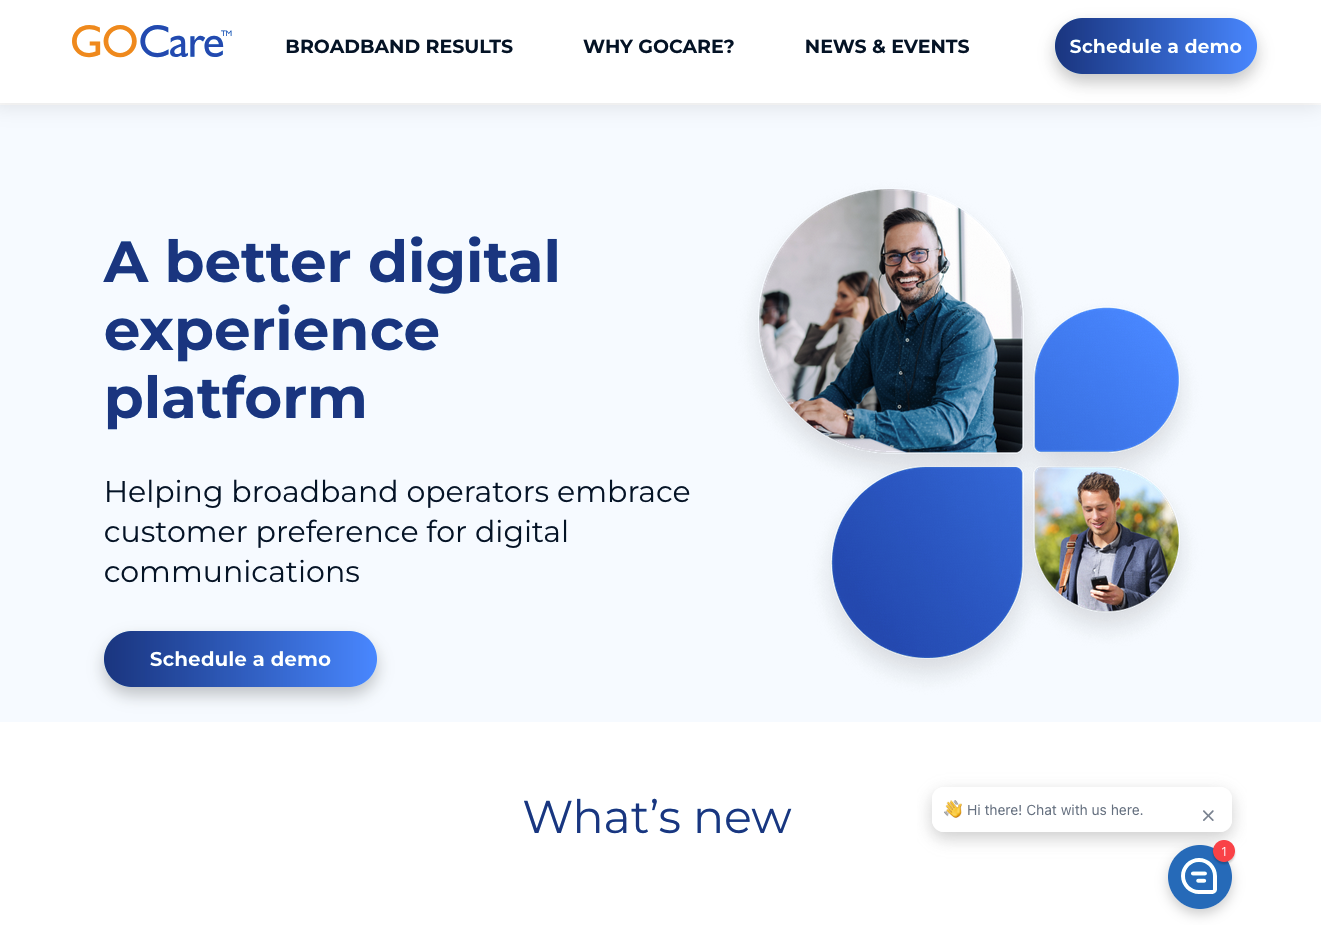
“👋 Chat with us here!”
“How can we help you today?”
“Happy to answer any questions!”
Click Done in the bottom-right corner.
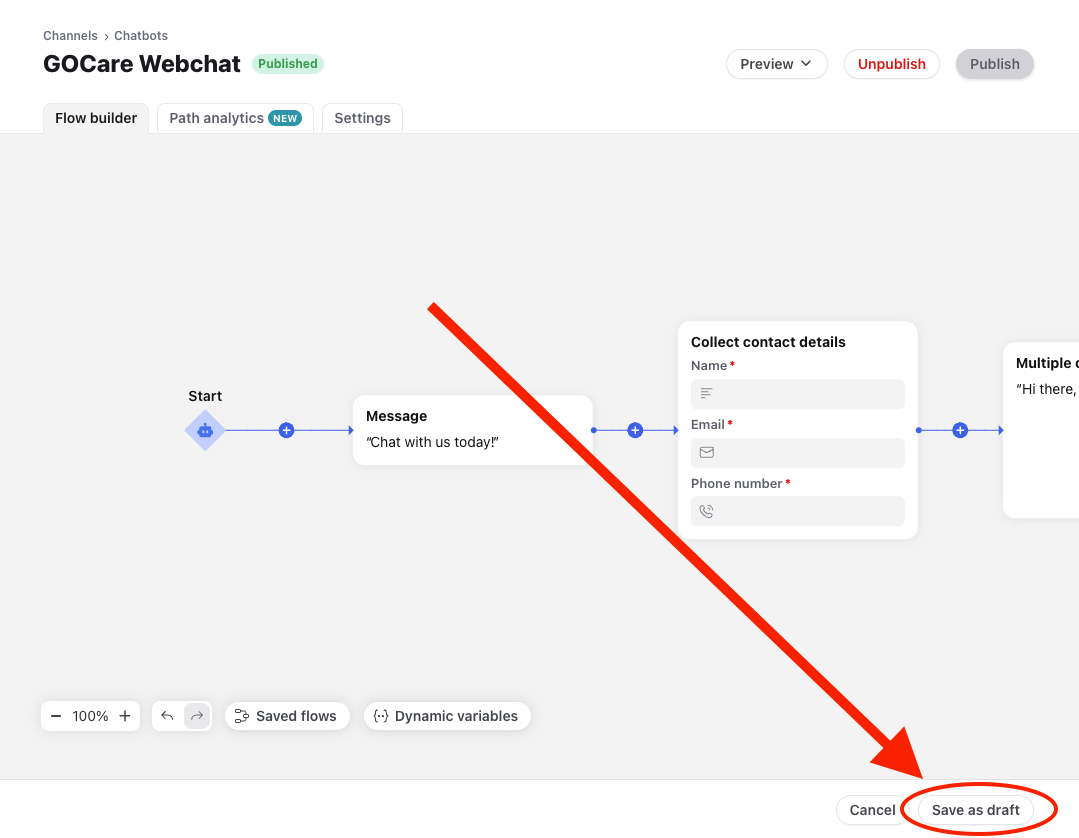
Click Save as Draft to save your changes.
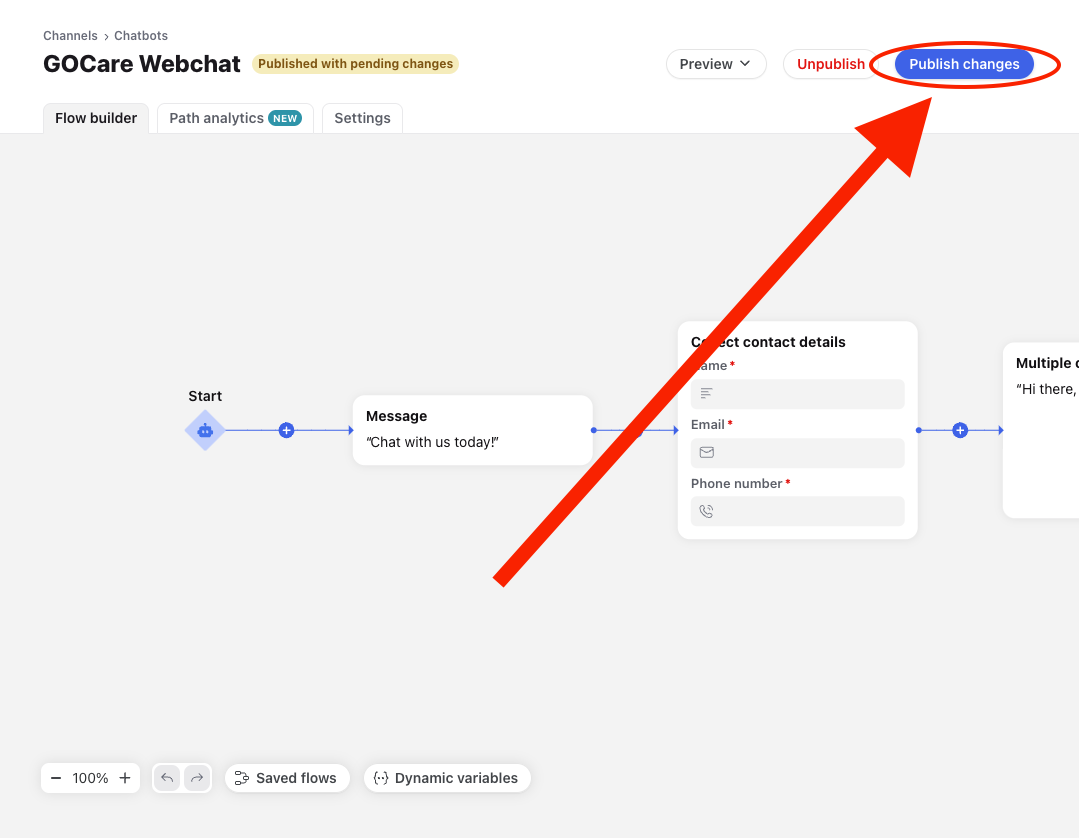
Click Publish changes in the upper-right corner.
Confirm your changes by selecting Publish in the popup window.
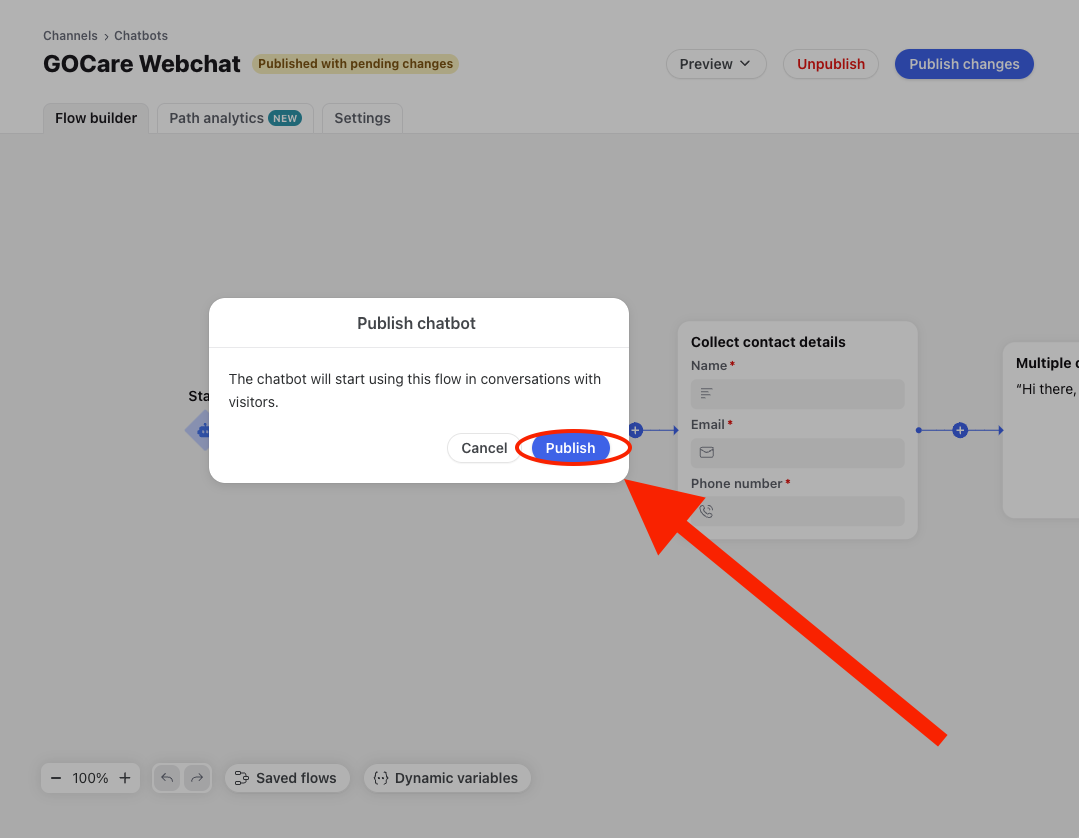
Your banner will now greet visitors automatically when they land on your site.
💡 Tip: Keep banner messages short, friendly, and aligned with your brand voice.
Message display behavior
The welcome message (or banner) is designed to display only once per visitor. If you're testing and don't see the message, try clearing browser cookies or using an incognito window to simulate a first-time visit.
A few key points to keep in mind:
The welcome message only triggers once per visitor. There is currently no setting to display it every time the page is refreshed.
To reset the message for all visitors, you can delete and re-add the message step in the Flow Builder. This retriggers the logic and displays it again sitewide.
If you include multiple message steps after the Start node, only the first will display—and only on the initial visit. Additional message steps will not appear, even on return visit